Kitchen scraps and yard waste make up roughly 30 percent of what most households throw away, according to the EPA composting guide. That material doesn't have to go to a landfill.
Home composting turns food scraps, leaves, and grass clippings into finished compost - a dark, crumbly material that improves soil structure, feeds soil microbes, and reduces the need for store-bought fertilizer.
The process is aerobic: microorganisms break down organic matter when they have enough oxygen, moisture, and a balanced mix of carbon-rich and nitrogen-rich inputs. The Cornell composting resource outlines how these fundamentals apply at the backyard scale.
You don't need special equipment or a large yard to start. A pile on bare ground works, and so does a simple bin on a small patio.
This guide covers everything in order: what you need to set up, a step-by-step process from first layer to finished compost, how to troubleshoot common problems, and compact alternatives if space is tight.
Understanding browns and greens balance is the foundation, and we'll get there in the next section.
Home composting converts kitchen scraps and yard waste into finished soil amendment using a simple browns-to-greens ratio, regular moisture, and occasional turning. Most backyard piles are ready in 2–6 months with active management.
What You Need to Start?
You need three things: a location, a container or designated pile area, and your starting materials. A spot with partial shade on bare soil is ideal - direct ground contact lets worms and beneficial organisms enter the pile naturally.
Remember it later
Planning to try this recipe soon? Save it for a quick find later!
A pile can be as small as 3 feet by 3 feet, which is the minimum size for retaining enough heat to accelerate decomposition. Larger piles (up to 5×5 feet) heat up faster and produce finished compost more quickly.
If you want a contained setup, you can build a bin from pallets for nearly nothing, or review structured options when you choose a compost bin that fits your space.
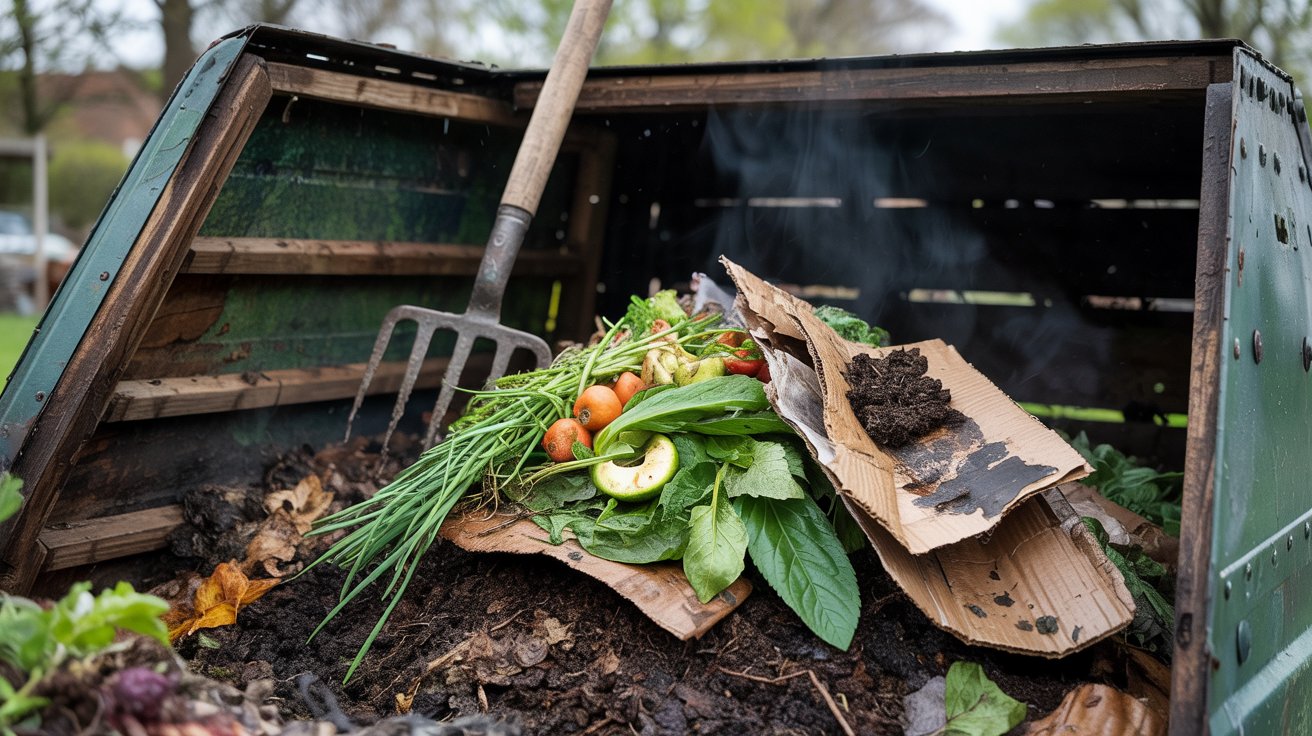
Browns are carbon-rich materials that feed the microbes fueling decomposition. Greens are nitrogen-rich and provide the protein microbes need to multiply.
You want roughly two to three parts browns for every one part greens by volume, per the Cornell Waste Management Institute.
| Category | Examples | Notes |
|---|---|---|
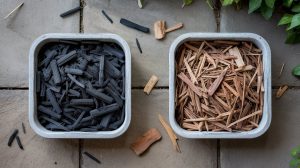
| Browns (Carbon) | Dry leaves, cardboard, paper, straw, wood chips | Shred cardboard to speed breakdown |
| Greens (Nitrogen) | Vegetable scraps, fruit peels, coffee grounds, grass clippings, fresh plant trimmings | Avoid adding diseased plant material |
| Always Avoid | Meat, dairy, oils, pet waste, treated wood | Attracts pests or introduces pathogens |
Moisture matters as much as the ratio. The pile should feel like a wrung-out sponge - damp but not dripping.
In dry climates or summer heat, you may need to water the pile every few days.
You'll also need a pitchfork or compost turner for aeration, and a kitchen collection bin to hold scraps between trips outside. A lidded container on the counter keeps odors down and makes the habit easier to maintain.
Step-by-Step Path to Finished Compost
The process from first layer to finished compost follows a consistent pattern. Each step builds on the last, and skipping steps - especially turning and moisture checks - is the most common reason piles stall.
Illinois Extension recommends starting with a coarse base layer to allow airflow from the bottom, then layering inputs in a way that maintains the carbon-to-nitrogen balance throughout the pile's life. Follow this sequence to keep things on track from day one.
Chop or shred large inputs before adding them. Material smaller than 2 inches breaks down significantly faster, cutting weeks off your timeline.
Once you have a rhythm - collecting scraps, layering browns, turning weekly - the whole system takes about 15 minutes a week to maintain. The payoff is a free, continuous supply of finished compost for beds, containers, and lawn top-dressing.
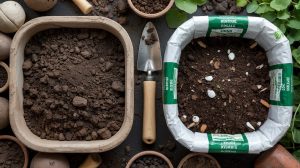
Understanding how finished compost changes your garden's foundation is easier when you know the differences across soil types and how amendments interact with each one.

Keep It Right: Maintenance and Troubleshooting
Most compost problems have one of three root causes: too much moisture, too little airflow, or an imbalanced browns-to-greens ratio. The EPA home composting guide identifies odor, soggy material, and slow decomposition as the most common beginner complaints - all are fixable.
A pile that smells like ammonia has too many greens. Add dry leaves or shredded cardboard and turn it.
A pile that smells like rotten eggs is anaerobic - it needs immediate turning and more browns to reintroduce oxygen. If the pile is bone dry and not decomposing, water it and check that greens are present.
- Turn weekly during warm months to keep the core aerated and decomposition active.
- Bury food scraps 6-8 inches into the pile to deter flies and rodents.
- Balance after each addition - every green layer gets a brown cover immediately.
- Keep the pile moist in dry spells; check moisture when you turn.
- Adding meat, dairy, or oily foods - these attract pests and create persistent odors.
- Letting the pile compact without turning; compaction cuts off airflow and stalls decomposition.
- Adding diseased plants unless your pile reliably reaches 130°F or higher.
- Ignoring a soggy pile - waterlogged material goes anaerobic within days.
Pests are usually a sign that food scraps aren't buried deeply enough. If rodents are a persistent problem, switch to a fully enclosed bin.
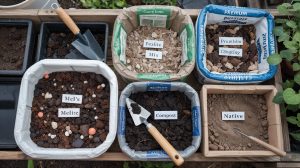
Knowing how to read your native soil also helps you understand what your compost needs to correct - whether that's more nitrogen or better drainage.
Other Methods and Space Scenarios
A backyard pile isn't the only option. If you have an apartment, a tiny yard, or mostly food scraps and little yard waste, a different system may suit you better.
- Vermicomposting: Uses red wiggler worms (Eisenia fetida) in a bin to process food scraps indoors. According to UC ANR vermicomposting guidance, a basic worm bin needs just 1-2 square feet of floor space and can process about a pound of scraps per week.
- Bokashi: A fermentation method that uses inoculated bran to pickle food waste - including meat and dairy - in a sealed bucket. It doesn't produce finished compost directly but creates a pre-compost that breaks down quickly when buried in soil.
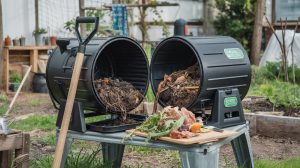
- In-vessel or tumbler: An enclosed drum that speeds decomposition through better heat retention and easy turning. Tumblers work well in urban settings where open piles aren't allowed.
In colder climates (Zone 5 and below), outdoor piles slow or freeze in winter. A tumbler or indoor worm bin keeps composting active year-round. Resume your outdoor pile in spring once temperatures stay above 50°F consistently.
Whichever method you pick, the same soil principles apply once you're ready to use the finished product. See how mulching alongside composting builds long-term soil health, or compare which mulch type works best with compost-amended beds.
You can also layer compost under different mulch materials to retain moisture and extend the amendment's effect. If you want to track soil improvement over time, a good soil pH test before and after shows measurable results.

Frequently Asked Questions
Fruit and vegetable scraps, coffee grounds, eggshells, dry leaves, cardboard, grass clippings, and paper are all compostable. Avoid meat, dairy, oily foods, and pet waste.
An actively managed pile turned weekly can produce finished compost in 2–6 months. Passive piles left to decompose on their own typically take 6–12 months.
A bare-ground pile works fine. Direct soil contact allows worms and microbes to enter naturally. A bin helps in urban areas or where pests are a concern.
Turn every 1–2 weeks in warm months. Check moisture each time you turn — the pile should feel damp like a wrung-out sponge, not wet or bone dry.
Not in a standard backyard pile — meat and dairy attract rodents and create odors. Bokashi fermentation is the one method that handles these materials safely at home.
Pin it for your next how to compost at home (beginner guide) project.