Soil pH is one of those numbers that controls everything else in your garden, yet most gardeners never check it. When pH drifts out of range, nutrients lock up in the soil and plants starve - even when you're fertilizing regularly.
The scale runs from 0 to 14, with 7.0 as neutral. Most vegetables perform best when soil pH stays between 6.0 and 7.0, where nutrients like nitrogen, phosphorus, and iron stay dissolved and plant-available.
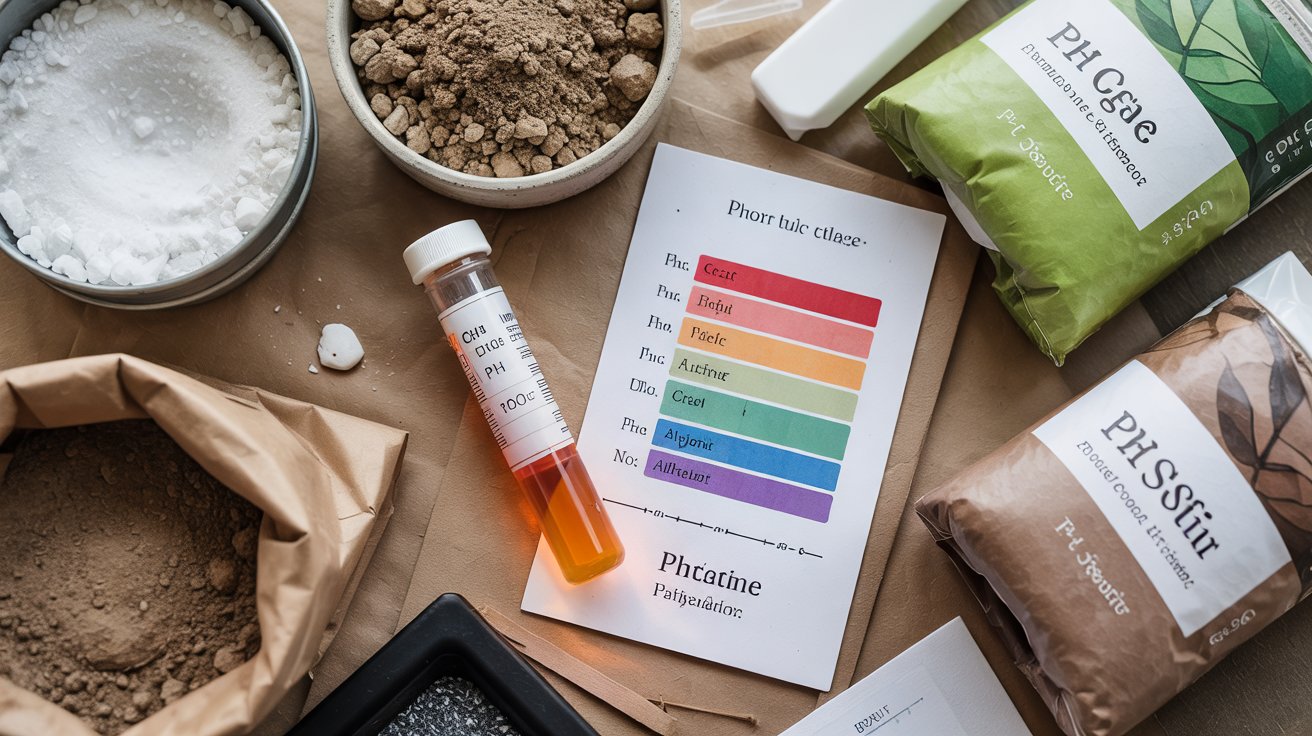
Testing is faster and cheaper than most people expect. A basic home kit costs under $15, and a reliable soil test kit can give you usable results in minutes.
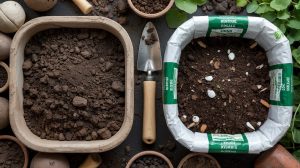
This guide walks through sampling, reading results, and applying the right amendment - lime to raise pH, sulfur to lower it - on a timeline that actually works.
Soil pH controls nutrient availability for every crop you grow. Test using a composite sample from 6–8 inches deep, interpret results against crop targets, then amend with lime or sulfur in fall for best results.
Re-test after every amendment cycle.
Why Test Soil pH and What It Means?
pH is a measure of hydrogen ion concentration in your soil, and it directly controls which nutrients plants can absorb. Even a well-fed soil can leave plants deficient if the pH is off by a point or two.
Remember it later
Planning to try this recipe soon? Save it for a quick find later!
At pH below 5.5, aluminum and manganese dissolve to toxic levels while phosphorus locks up. Above 7.5, iron and zinc become nearly unavailable, and you'll see yellow leaves even on plants with plenty of fertilizer.
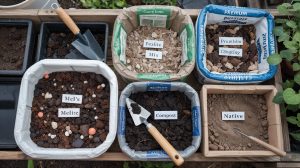
Understanding how soil composition varies helps explain why pH shifts happen - clay soils buffer pH changes more than sandy ones, so amendments work differently depending on your texture.
pH affects more than nutrients. Soil bacteria that break down organic matter and fix nitrogen work best between 6.0 and 7.0. A pH below that range slows decomposition and reduces natural fertility over time.
Different crops have genuinely different needs, and that matters when you're planning a mixed garden. Crop pH targets from university extension research show that blueberries want 4.5-5.5, while brassicas like cabbage and broccoli prefer 6.0-7.0.
Tomatoes, peppers, and most leafy greens sit comfortably between 6.0 and 6.8. Potatoes prefer a slightly more acidic 5.0-6.0, partly because that range reduces scab disease pressure.
Testing early - before you plant - means you have time to amend without rushing.
Lime, in particular, takes weeks to months to fully react in the soil, so a late spring test followed by immediate liming rarely fixes the problem before your seeds go in.
Rainfall patterns matter too. In the Pacific Northwest and other high-rainfall regions, soils naturally acidify over time as water leaches calcium and magnesium out of the root zone.
Gardeners in those areas often need to lime every two to three years just to maintain a stable pH.
In drier, arid climates, soils frequently trend alkaline - sometimes above pH 8.0 - because minerals accumulate without rainfall to flush them. Those gardens need sulfur or acidifying fertilizers rather than lime.
Testing gives you a baseline so you know which direction to move and by how much. Without that number, amendments are guesswork.
You can learn more about identifying your soil type to understand how your local conditions influence pH drift.
A single test from one spot in your garden can mislead you. Composite sampling - pulling from multiple locations and mixing - smooths out hot spots from old compost piles, lime applications, or plant debris.
That's the method extension services recommend for a reason.
How to Test Soil pH: Sampling and Testing Methods?
Good results start before you open any test kit. Where and how you pull your sample matters as much as which kit you use.
A poorly pulled sample produces an accurate reading of the wrong soil.
Lab testing through a local extension office costs $15-$25 and returns detailed results including buffer pH, organic matter, and amendment recommendations. Home kits are faster but only measure active pH, not buffering capacity.
Home pH strips and liquid test kits are convenient for quick checks between seasons. For initial testing or when you suspect a significant problem, a lab report gives you nutrient and pH data together - which tells a much fuller story.

Interpreting Results and Crop-Target pH Values
Once you have your pH number, compare it against the target range for whatever you plan to grow. A reading of 6.2 is fine for tomatoes but too high for blueberries and too low for asparagus to hit its sweet spot.
According to extension vegetable guides, most food crops cluster around 6.0-7.0, but there are enough exceptions that checking your specific crops before amending is worth two minutes of your time.
| Crop | Preferred pH Range | Notes |
|---|---|---|
| Tomatoes | 6.0–6.8 | Very forgiving in mid-range |
| Blueberries | 4.5–5.5 | Strongly acidic — most gardens need sulfur |
| Brassicas (cabbage, broccoli) | 6.0–7.0 | Higher end reduces clubroot pressure |
| Potatoes | 5.0–6.0 | Lower pH reduces common scab |
| Lettuce / Spinach | 6.0–7.0 | Tolerant across wide range |
| Carrots | 6.0–6.8 | Sensitive to both extremes |
| Peppers | 6.0–6.8 | Similar to tomatoes |
| Asparagus | 6.5–7.5 | One of the most alkaline-tolerant vegetables |
| Strawberries | 5.5–6.5 | Slightly acidic preferred |
| Beans | 6.0–7.0 | Nitrogen fixation best near 6.5 |
When your reading falls more than 0.5 units outside the target range, amending is worth doing before planting. Smaller gaps often self-correct with good organic matter management.
Crops with narrow windows - blueberries being the classic example - need separate beds where you can control pH independently. Mixing them into a general vegetable bed where you're also growing brassicas creates a conflict you can't resolve without hurting one or the other.
A pH that looks fine on paper can still cause problems if your compost quality is poor or organic matter is low. Organic matter buffers pH swings and feeds the microbial life that makes nutrients actually move into roots.
Pay attention to the buffer pH value if your lab report includes it. Buffer pH reflects how much lime or sulfur your soil can absorb before shifting - clay soils with high CEC resist change, while sandy soils move fast.
Extension tables for crop-specific ranges are the most reliable reference for your region, as OSU extension notes when cautioning against generic one-size-fits-all targets.
If you're planning what to grow while waiting on results, early-season crop planning gives you a head start on matching plants to your likely pH conditions.
Fixing pH: Lime to Raise and Sulfur to Lower
Lime raises pH. Elemental sulfur lowers it.
Both work slowly, and both require you to know your soil's buffering capacity before you guess at a rate.
Calcitic lime (calcium carbonate) is the standard choice for most gardens. Dolomitic lime adds magnesium alongside calcium - useful if a lab test shows magnesium deficiency.
For lowering pH, elemental sulfur is oxidized by soil bacteria into sulfuric acid over several weeks, which is why it needs warm, moist conditions to work.
Never apply more than 5 lbs of lime per 100 sq ft in a single application. Over-liming locks up micronutrients and can push pH well past your target before you realize it. Apply half, re-test after 6–8 weeks, then apply the rest if needed. Liming rates depend on soil texture and CEC, as OSU extension guidance details.
Clay soils need significantly more amendment than sandy ones to shift the same number of pH units - sometimes two to three times as much lime. Work amendments into the top 6 inches rather than leaving them on the surface, where they react far more slowly.
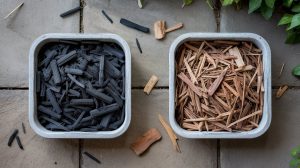
Using mulch after amending helps retain moisture, which accelerates the chemical reactions.
Seasonal Timing and Regional Notes
Fall is the best time to apply lime in temperate climates. Soil moisture and freeze-thaw cycles help work lime into the profile, and the 3-6 month window before spring planting gives it time to fully react.
Spring sulfur applications work well in warm climates where soil bacteria stay active year-round.
Plan a fall-to-spring cycle: test in September, amend by October, then re-test in March before planting. This timing lets soil chemistry stabilize and lets you prepare your garden for spring without last-minute corrections. High-rainfall regions should re-test every 2 years; arid regions every 3.
In the Pacific Northwest, annual rainfall acidifies soils steadily - plan on liming more frequently than gardeners in drier inland regions. In the Southwest, naturally alkaline soils often need repeated sulfur applications and acidifying mulches like pine needle mulch to hold gains.
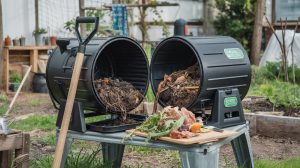
Building a compost system on pallets gives you a steady supply of organic matter that buffers pH naturally between amendment cycles.
Frequently Asked Questions
Most vegetables perform best between pH 6.0 and 7.0, though potatoes prefer 5.0–6.0 and asparagus tolerates up to 7.5.
Use a liquid test kit or pH strips on a composite sample mixed from 8–10 spots at 6–8 inches deep. Lab tests from extension offices give more detailed results for $15–$25.
Apply no more than 5 lbs per 100 sq ft at once. Clay soils require more lime than sandy soils to shift the same number of pH units.
Re-test 6–8 weeks after any amendment, then annually for problem soils. Stable gardens in moderate climates can go 2–3 years between full tests.
No. Lime takes 3–6 months to fully react, and elemental sulfur needs weeks of warm, moist conditions. Significant pH shifts typically require a full fall-to-spring cycle.
Pin it for your next how to test soil ph and fix it project.