A raised garden bed puts you in control of your soil, drainage, and growing depth from day one. You skip the guesswork of amending unknown native soil and start with a clean slate.
Most first-time builders finish a basic 4×8 foot bed in a single afternoon for under $100 in materials. The process is straightforward - pick your lumber, cut it to length, screw it together, fill it with good soil, and plant.
That said, the decisions you make before you build - wood species, bed height, location - have a real impact on how long your bed lasts and how well your plants grow.
Cedar outlasts pine by years, and a 12-inch-deep bed grows carrots where a 6-inch bed cannot.
If you're weighing whether a raised bed is even the right move for your yard, it helps to compare raised vs. in-ground growing before you buy any lumber. This guide covers everything after that decision is made.
Building a raised garden bed takes one afternoon and costs $50–$150 depending on materials. Choose cedar or redwood for longevity, size the bed no wider than 4 feet for easy reach, and fill with a 60/30/10 soil mix of topsoil, compost, and perlite.
Choosing the Right Materials
Wood is the most common raised bed material, and cedar is the standard recommendation for good reason - it naturally resists rot and insects without chemical treatment, and a cedar bed can last 10 to 20 years.
Remember it later
Planning to try this recipe soon? Save it for a quick find later!
Redwood performs similarly but costs more in most regions.
Pressure-treated lumber is worth understanding before you rule it out.
Lumber treated with alkaline copper quaternary (ACQ), the modern standard since 2004, is considered safe for food gardens by the Utah State University Extension - the old arsenic-based CCA treatment is no longer sold for residential use.
- Cedar (1×6 or 2×6): Best balance of cost, longevity, and looks. Lasts 10-20 years untreated.
- Douglas fir: Cheaper than cedar, lasts 5-7 years. Fine for a starter bed.
- Redwood: Longest-lasting wood option, but harder to source outside the West Coast.
- Galvanized steel: Lasts indefinitely, heats up faster in spring, costs $150-$400 for a kit.
- Composite lumber: Made from recycled plastic and wood fiber, won't rot, but pricier upfront.
Avoid railroad ties and old utility poles - both can leach creosote or pentachlorophenol into your soil. Those chemicals have no place near food plants.
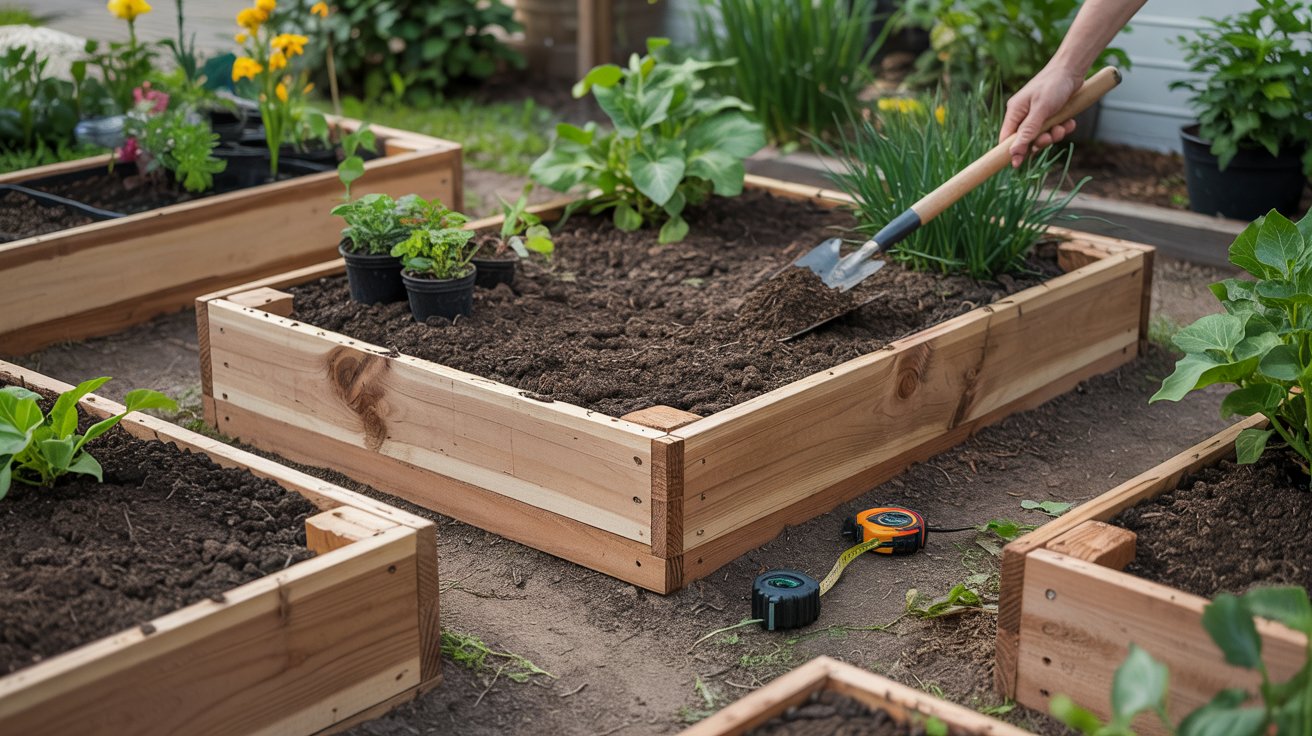
Buy 2×10 or 2×12 boards instead of 1×6 if you can. The extra thickness resists bowing under soil pressure, and you get 10–12 inches of growing depth in a single board layer.
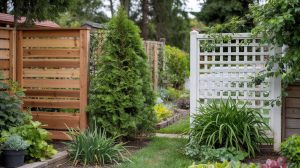
Picking the Right Size and Location
The most practical raised bed width is 4 feet - you can reach the center from either side without stepping in. Longer is fine; 4×8 and 4×12 are both common.
Just keep width at or under 4 feet.
Depth matters more than most new gardeners expect. Shallow-rooted crops like lettuce and herbs need just 6 inches, but tomatoes, peppers, and carrots want at least 10 to 12 inches.
If you're building one bed to grow everything, go 12 inches.
Location comes down to two things: sun and drainage. Most vegetables need 6 to 8 hours of direct sun per day.
Avoid spots where water pools after rain - even with a raised bed, soggy ground underneath slows drainage and can drown roots.
Orient the bed north-to-south when possible so taller plants on the north end don't shade shorter ones. If your yard slopes, set the bed on the flattest available section - a level bed fills more evenly and waters uniformly.
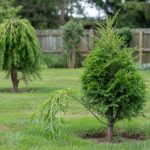
Keep raised beds at least 10 feet from black walnut trees. The roots release juglone, a compound that kills tomatoes, peppers, and many other vegetables.
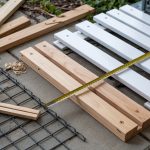
Tools and Materials You Need Before You Start
You don't need a full workshop for this build. A drill, saw, and measuring tape handle 90% of the work.
If your lumber comes pre-cut from the home improvement store, you may not need the saw at all.
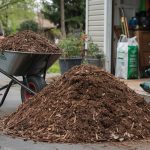
For a standard 4×8×12-inch bed, you'll need roughly 32 cubic feet of soil - that's about 16 bags of 2-cubic-foot mix. Buying in bulk from a landscape supply yard is cheaper if you're filling more than one bed.
A well-designed backyard often pairs raised beds with other permanent features - like a low-maintenance gravel surface nearby for foot traffic areas.
How to Build a Raised Garden Bed: Step-by-Step?
The basic build is a rectangle - four sides screwed into corner posts. Each step below assumes a 4×8 foot bed with 2×12 cedar boards, which is the most common starter configuration.
If your bed is longer than 8 feet, add a center support stake or cross-brace on the long sides. Soil pressure bows unsupported boards outward over time, especially after watering.
The Best Soil Mix for a Raised Bed
Native soil alone is too dense for a raised bed. Roots need loose, well-draining material to develop properly, and the standard recommendation from most extension services is the Mel's Mix formula: one-third compost, one-third peat moss or coconut coir, and one-third coarse vermiculite.
A more accessible version uses what landscape suppliers already stock: 60% quality topsoil, 30% compost, and 10% perlite. This ratio drains well, holds nutrients, and doesn't compact like straight topsoil does.
The University of Minnesota Extension recommends avoiding soil mixes with heavy clay fractions for any raised bed application.
- Compost: The engine of the mix. Feeds plants slowly and improves water retention. Add 1-2 inches of fresh compost each season. Learning more about soil amendment and composting will help you maintain the bed year after year.
- Topsoil: Provides weight and structure. Buy screened topsoil - avoid anything labeled "fill dirt."
- Perlite or coarse vermiculite: Keeps the mix from compacting and aids drainage. Perlite is cheaper; vermiculite holds slightly more moisture.
Never use bagged "potting mix" alone to fill a raised bed - it's designed for containers and dries out too fast in a larger volume. A bulk landscape delivery of blended raised bed mix is usually the most cost-effective option for beds larger than 4×4.
| Bed Size | Depth | Cubic Feet Needed |
|---|---|---|
| 4 × 4 ft | 12 in | 16 cu ft |
| 4 × 8 ft | 12 in | 32 cu ft |
| 4 × 12 ft | 12 in | 48 cu ft |
| 4 × 8 ft | 6 in | 16 cu ft |
Material Cost Breakdown
A cedar 4×8 bed costs between $75 and $120 in materials, not including soil. Fir drops that to $40-$70.
Steel kits run higher upfront but need no replacement.
Screws, landscaping fabric, and hardware cloth add another $15-$30 total. If you already own a drill and saw, no tool rental is needed.
Raised beds fit naturally into a broader backyard upgrade - many homeowners pair them with a permanent structure like a stone fire pit build to make the outdoor space more functional year-round.
Seasonal Care After You Build
A raised bed needs more frequent watering than in-ground plantings because the elevated soil loses moisture faster. In summer, plan to water every 1 to 2 days for most vegetables unless you get significant rainfall.
A soaker hose on a timer solves this almost entirely.
Each fall, the soil level in your bed will drop 1-2 inches as organic matter breaks down. Top it up with fresh compost every spring - this is what keeps the bed productive year after year without adding synthetic fertilizer.
Raised beds are just one way to shape an outdoor space; if you're planning a larger backyard project, comparing patio vs. deck options can help you decide what surface works alongside your garden area.
Common Mistakes to Avoid
Most raised bed failures trace back to a handful of fixable errors. Knowing them before you build saves you a rebuild later.
- Use galvanized or stainless screws - regular steel screws rust and fail within 2 seasons.
- Level the frame before filling - an unlevel bed waters unevenly and one side always stays dry.
- Add a center brace on beds longer than 8 feet to prevent side bowing.
- Leave 1 inch of headspace at the top so soil doesn't wash out when you water.
- Place beds where you'll actually walk to them - convenience drives how often you maintain them.
- Don't use painted or stained wood on the interior - finish chemicals leach into edible soil.
- Don't skip pre-drilling - splitting boards at the ends weakens the whole frame.
- Don't fill with straight topsoil - it compacts hard and cuts off root oxygen.
- Don't place a bed directly under a roof drip line - irregular watering causes root stress.
- Don't make the bed wider than 4 feet - you'll step into it and compact the soil you worked to loosen.
Over-watering is just as common as under-watering in raised beds. Stick a finger 2 inches into the soil before watering - if it's still moist, wait.
Many gardeners also expand their backyard over time; once the beds are in, adding a retaining wall structure is a natural next step on sloped lots. For evening use of the garden space, some well-placed backyard lighting options make a big difference.

Extending and Upgrading Your Raised Bed
Once your first bed is built and producing, most gardeners want more. Adding a second bed is faster than the first - you already own the tools and know the process.
Stagger beds with 24-inch-wide paths between them so you can move a wheelbarrow through comfortably.
Tall beds at 24-30 inches eliminate bending entirely, which matters for gardeners with back or knee issues. These require more lumber and soil but the same basic build method.
The University of Wisconsin Extension notes that taller beds also warm up faster in spring, extending your growing season by 2-3 weeks in colder climates.
- Hoop covers: Bend half-inch PVC pipe across the width of the bed and drape with row cover fabric to extend the season 4-6 weeks in both directions.
- Drip irrigation: A soaker hose looped through the bed on a timer cuts watering time to zero and reduces fungal disease from overhead watering.
- Trellis attachment: Screw a vertical post into the corner of a bed and run wire horizontally - instant support for beans, cucumbers, and tomatoes.
- Pathway material: Fill paths between beds with wood chips, gravel, or stepping stones. Bare soil between beds becomes mud fast.
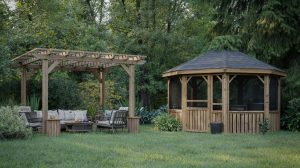
If you're planning a full backyard transformation, raised beds work well alongside other permanent structures. A pergola provides shade over a seating area adjacent to the garden - if you're wondering whether a pergola DIY is realistic for a weekend build, the answer for most homeowners is yes.
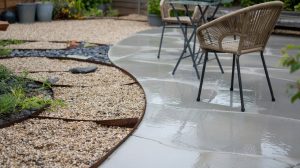
For paths and hardscaping between beds, the choice between concrete and pavers affects both cost and long-term maintenance. Permanent lighting along bed edges also makes evening watering and harvesting easier - installing landscape lights along a garden path is a straightforward afternoon project.
Frequently Asked Questions
Cedar is the most practical choice — it resists rot naturally without chemical treatment and lasts 10 to 20 years in most climates.
12 inches works for nearly every vegetable. Shallow crops like lettuce need only 6 inches, but tomatoes and carrots need at least 10 to 12.
Modern ACQ-treated lumber sold since 2004 is considered safe for food gardens. The older arsenic-based CCA treatment is no longer available for residential use.
A 4×8 foot bed at 12 inches deep requires 32 cubic feet of soil — about 16 standard 2-cubic-foot bags from a garden center.
Not usually. Leave the bottom open over soil for natural drainage and earthworm access. Add quarter-inch hardware cloth only if gophers are active in your yard.
Pin it for your next how to build a raised garden bed project.