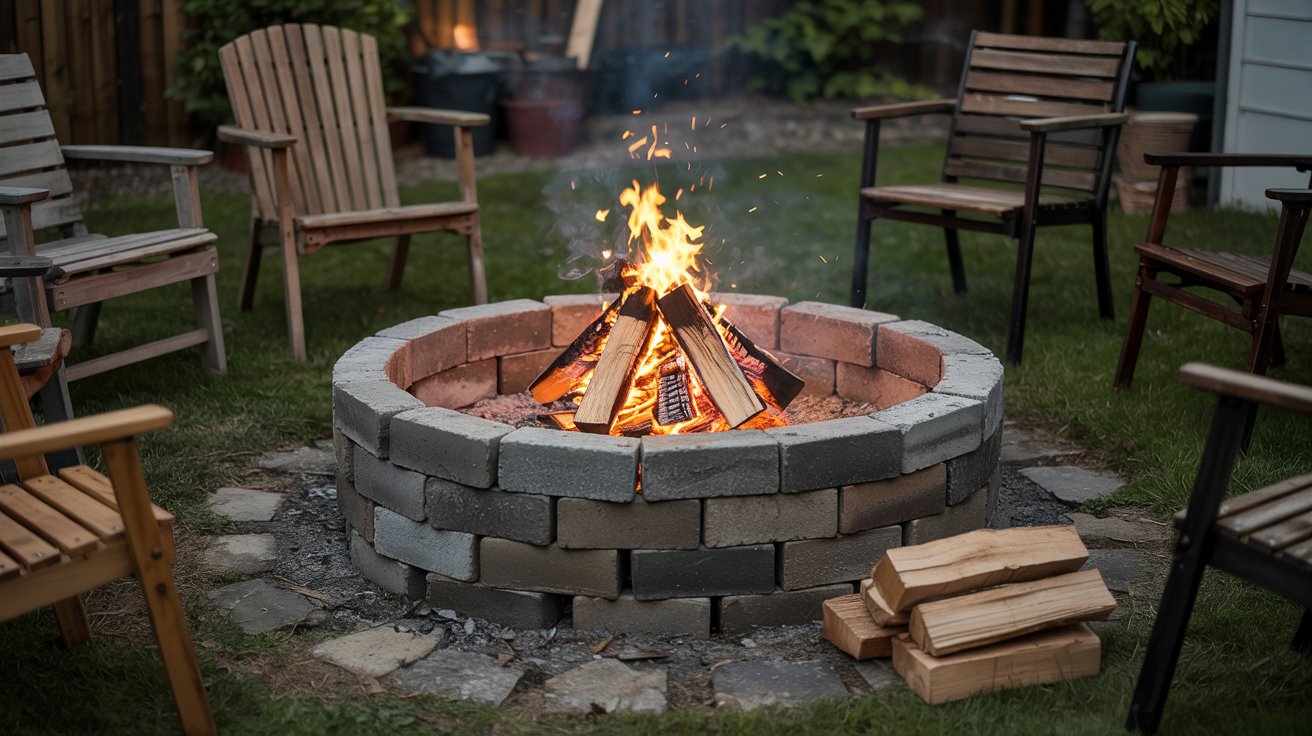
A backyard fire pit turns an ordinary evening outside into something worth staying up for. You can build a solid, safe, in-ground ring pit in a single afternoon for as little as $50 to $200 in materials - no masonry skills required.
The method here works for most standard backyards with a bit of flat ground. It skips the overbuilt, over-budget approaches you'll find on contractor sites and focuses on a lean, modular build you can actually finish before dark.
If you're also thinking about fire pit layout ideas to inspire your design before you dig, that's a useful starting point.
Safety is baked into every step here - not tacked on at the end. The USFA outdoor fire guidance is clear: never leave a burning pit unattended, and always have a water source within arm's reach.
Before you buy a single block, check your local ordinances. Some municipalities ban open burning outright; others require a permit or a minimum setback from structures.
A five-minute call to your city's fire marshal saves a lot of headaches.
Build a DIY fire pit in one afternoon using retaining-wall blocks, gravel, and sand. Site prep takes 30 minutes; the ring goes up in under an hour.
Budget runs $50–$200 depending on materials. Always follow local burn rules and keep a hose nearby.
Overview and Quick Build Plan
The goal is a 36-inch diameter in-ground pit with a stable block ring, a gravel base for drainage, and a sand-and-soil earth fill around the liner. That size comfortably seats four people and is manageable for a solo builder.
Remember it later
Planning to try this recipe soon? Save it for a quick find later!
Before you start, confirm two things: your yard drains reasonably well, and there are no buried utility lines where you plan to dig. Call 811 (the free US dig-safe hotline) at least three days before you break ground.
The EPA burn-wise guidelines recommend burning only dry, seasoned hardwood to reduce smoke and particulate output. Wet or green wood produces significantly more smoke and creosote.
Here's the sequence from start to first fire:
Decks are out. Even composite decking ignites under sustained radiant heat.
If your only outdoor space is a deck, see the patio versus deck comparison to weigh your options before committing to a fire feature.
Materials and Cost Planning
Most of the cost in a DIY fire pit goes into three things: the base layer, the ring material, and the noncombustible fill inside the pit bowl. You can spend $50 or $500 depending on which tier you choose for each.
Retaining-wall blocks from a big-box store are the budget standard. A 36-inch pit needs roughly 30-36 standard blocks for two courses.
Fieldstone or natural flagstone costs more but blends into landscaped yards better. The Madison fire pit safety guide recommends using only noncombustible materials for the ring - no treated lumber or standard brick, which can spall under heat.
| Component | Budget ($) | Mid-Range ($) | Premium ($) |
|---|---|---|---|
| Ring material | Retaining blocks — $20–$40 | Natural stone — $60–$100 | Tumbled granite — $120–$200 |
| Gravel base (0.5 cu ft) | Pea gravel — $5–$10 | Crushed limestone — $10–$20 | Decomposed granite — $20–$35 |
| Sand layer | Play sand bag — $5–$8 | Masonry sand — $8–$15 | Polymeric sand — $15–$25 |
| Fire-rated fill (lava rock) | Basic lava rock — $10–$15 | Fire glass mix — $20–$40 | Decorative fire stones — $40–$80 |
| Steel ring liner (optional) | None / skip — $0 | Basic steel insert — $25–$50 | Heavy-gauge liner — $60–$120 |
The biggest place to save money is skipping the steel liner if you use two full courses of retaining blocks. The blocks themselves contain the fire adequately for most casual use.
Where it matters to spend slightly more: lava rock or fire glass at the base of the bowl. Regular gravel can crack and pop dangerously when heated - that's a safety issue, not an aesthetic one.
If you want to see how full fire pit costs scale with more elaborate builds, the fire pit price breakdown covers installed and prefab options too. For the DIY version here, a realistic all-in number is $80-$150 for most yards.
Build Steps: Afternoon Construction
Clear a full afternoon - about three to five hours. Work in the morning if it's hot; the digging phase is the most physical part, and you'll want energy left for precise block placement.
The USDA Forest Service fire guidance recommends clearing a 10-foot radius of all dry grass, leaves, and debris before starting any outdoor fire setup. Do this as your first physical task - it also helps you visualize the final footprint.
Common mistakes at this stage: skipping the compaction step (blocks shift on soft soil), using regular river rock as fill (it can explode when heated), and setting blocks on top of grass rather than digging in.
Also avoid building directly under trees - embers travel up to 20 feet on light wind.
The USFA fire safety practices are worth bookmarking for ongoing use - they cover ember management and supervision requirements that apply every time you light up, not just during construction.
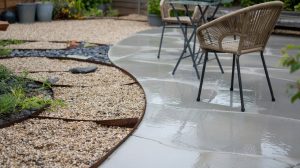
If this project is part of a larger outdoor build, pairing it with a gravel patio base creates a natural, low-maintenance surround that handles foot traffic and drainage around the pit.
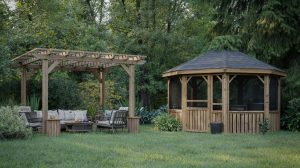
For a bigger weekend project, the DIY pergola build gives covered seating nearby without blocking the fire's airflow.
Safety, Maintenance, and Local Compliance
A finished pit is only safe if it stays maintained. After every three or four fires, rake out ash and check the block ring for cracking or tilting.
Ash buildup above 2 inches deep blocks airflow and causes the fire to burn hotter at the sides, which accelerates block degradation.
The CPSC consumer alert warns against any fire pit designed to burn alcohol or other liquid fuels — these have caused two deaths and dozens of serious burn injuries. Stick to dry seasoned wood in any in-ground or block pit.
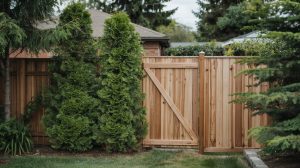
Keep a 10-foot clearance between the pit rim and any structure, fence, wood pergola, or dense plantings. That number increases to 25 feet if you're in a dry climate or high-wind area.
Never use a ground pit on or near any deck surface - even composite decking rated for some heat exposure wasn't designed for open flame directly above it. See the composite vs. wood deck material comparison for heat-resistance details if your space is mostly decked.
If your backyard design is still evolving around the pit, the outdoor structure planning section covers how fire features integrate with seating, lighting, and landscaping zones. For anyone considering a full outdoor cooking setup nearby, the DIY outdoor kitchen build pairs well with a fire pit when spaced properly.
And if you're still weighing which pre-built fire pit might suit a smaller space, the best fire pit options guide walks through that decision.

Frequently Asked Questions
Permit requirements vary by municipality. Many cities allow open recreational fires under a certain diameter — often 3 feet — without a permit, but some ban open burning entirely. Call your local fire marshal to confirm before digging.
No. Neither wood nor composite decking is safe under an open flame. Radiant heat alone can char or warp composite boards rated at 150°F — far below what a fire pit generates at close range.
Remove ash every 3–4 fires, inspect blocks for cracking each spring, and re-level any frost-heaved courses. A fitted cover dramatically extends block life through winter wet-freeze cycles.
Never burn treated lumber, plywood, trash, or any liquid accelerant. The CPSC links two deaths directly to liquid-burning fire pit designs. Dry, seasoned hardwood like oak or ash is the safest choice.
Keep a minimum 10-foot clearance from structures, fences, and dense plantings under calm conditions. On windy days, extinguish the fire entirely — embers can travel up to 20 feet in a light breeze.
Pin it for your next how to build a fire pit in your backyard project.