A retaining wall does two jobs at once: it holds back soil and shapes your backyard into usable, level space. Build it wrong and you'll face cracked blocks, bowing timbers, or a wall that slowly tips forward under the weight of saturated soil.
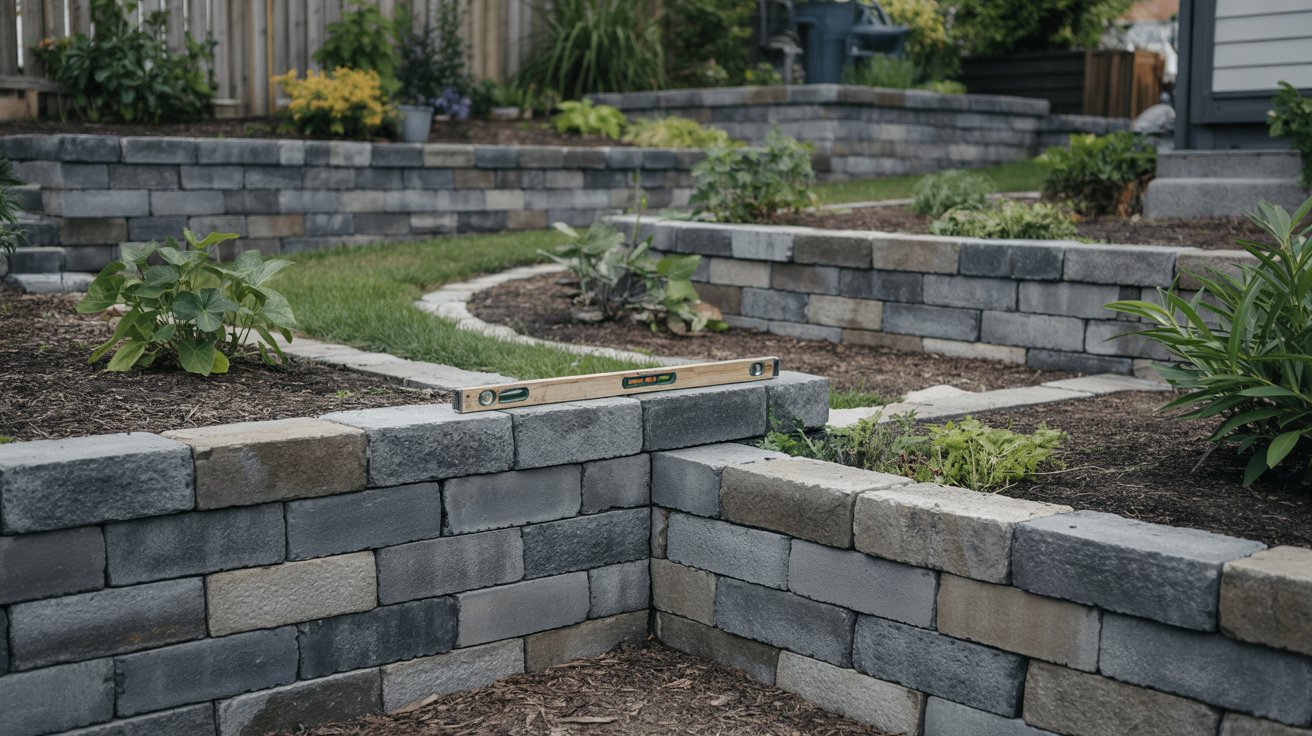
Build it right - drainage first, proper base second, good materials third - and it will last 20 to 50 years with almost no intervention.
The most common mistake homeowners make is skipping drainage. Water trapped behind a wall builds hydrostatic pressure that no amount of concrete block or stone can resist long-term.
Every decision in this guide flows from that single fact.
This guide walks through the full process: choosing between block, stone, and timber; estimating real costs; pulling permits before you dig; laying a compacted base; installing drain tile and backfill; and finishing with a design that fits your yard.
The full cost breakdown for each material type is covered in detail, so you'll enter this project with accurate numbers.
Plan on one to three weekends for a typical DIY wall under 4 feet tall and 20 feet long, depending on material choice and soil conditions.
Rutgers Extension outlines wall design considerations worth reviewing before you finalize your layout, especially regarding slope, surcharge loads, and footing depth requirements.
Building a retaining wall requires a drainage-first approach using perforated drain tile, a compacted gravel base, and the right material — block, stone, or timber — matched to your height, budget, and style. Permits are required in most jurisdictions for walls over 3–4 feet.
Plan, Materials, and Costs
Before you buy a single block, you need three numbers: wall height, wall length, and your soil type. Those three factors drive material choice, footing depth, and whether you'll need geogrid reinforcement behind the wall.
Remember it later
Planning to try this recipe soon? Save it for a quick find later!
A 2-foot decorative wall and a 4-foot load-bearing wall are fundamentally different engineering challenges.
Height also determines drainage urgency. Any wall retaining more than 18 inches of soil needs a perforated drain tile running behind the base, wrapped in geotextile fabric, and daylit at each end.
LA County's building code manual covers drainage code requirements that reflect standards common across most jurisdictions.
| Material | Typical Lifespan | DIY Difficulty | Best For |
|---|---|---|---|
| Concrete Block | 50+ years | Moderate | Straight runs, consistent height |
| Natural Stone | 75+ years | High | Curved walls, naturalistic style |
| Pressure-Treated Timber | 15–25 years | Low–Moderate | Short walls under 3 ft, informal look |
| Concrete Block + Geogrid | 50+ years | Moderate–High | Walls 4 ft and taller |
Concrete block is the most forgiving material for first-time builders. Blocks like Allan Block or Versa-Lok interlock with a built-in rear lip that creates automatic batter (backward lean) as you stack.
Natural stone is slower and heavier but looks extraordinary against mature plantings. Timber walls are fastest to build but have the shortest service life - pressure-treated pine in ground contact lasts roughly 15-20 years before rot becomes a problem.
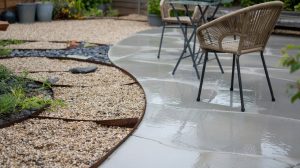
Your base material matters as much as the wall material itself. Use crushed angular gravel (not rounded pea gravel) for the base pad - it compacts into a stable, interlocking surface that rounded stone cannot match.
Plan on a base trench of at least 6 inches deep for walls under 4 feet, deeper for taller builds. If you're also planning a compacted gravel surface nearby, you can often source base material in a single bulk order.
Labor adds $15-$30 per square foot if you hire out any portion of the work. Steep slopes and clay-heavy soil push both material and labor costs toward the top of those ranges because excavation takes longer and drainage demands are higher.
Construction Steps: Site Layout Through First Courses
Check for buried utilities before any digging. Call 811 (in the US) at least three business days before you break ground - it's free and legally required in most states.
Also confirm your permit status before this step; Portland's Bureau of Development Services outlines the permit application workflow that mirrors what most cities require.
Once utilities are marked and permits are in hand, stake your wall line and snap a chalk line or run string between batter boards. This string becomes your reference for level, alignment, and batter throughout the build.
Take your time here - a straight string saves hours of adjustment later.
For timber walls, structural integrity depends on deadman anchors - horizontal timbers driven perpendicular into the hillside every 6-8 feet along the wall length. Skipping deadmen on a timber wall is the equivalent of skipping geogrid on a tall block wall.
Both walls will eventually tilt forward without that horizontal anchor into the retained soil.
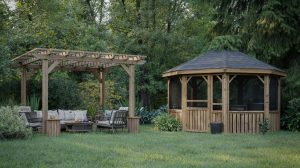
If your project includes a pergola or other overhead structure near the wall, check the footing depth requirements for adjacent structures - you may be able to schedule both excavations together.
Drainage and Backfill
Drainage is not optional. Hydrostatic pressure - the force of water-saturated soil pressing outward - is responsible for the majority of retaining wall failures.
A well-built wall with no drainage will fail faster than a mediocre wall with excellent drainage.
The drainage system runs behind the base of the wall and carries water to daylight at one or both ends. Allan Block's installation documentation covers drainage planning details including geogrid placement that apply across most wall types.
| Component | Specification | Purpose |
|---|---|---|
| Perforated drain tile | 4-inch diameter, holes facing down | Collects and moves groundwater |
| Drainage stone | Clean crushed stone, 12-in-wide column behind wall | Fast water movement to pipe |
| Geotextile fabric | Wrap stone column completely | Keeps soil from clogging stone |
| Backfill material | Granular fill first 12 in, native soil beyond | Reduces pressure, aids drainage |
| Surface slope | Grade soil away from wall at 2% minimum | Diverts surface runoff |
Lay the perforated drain tile on top of the base gravel, holes facing down, before you backfill anything.
Wrapping the entire gravel column in geotextile fabric keeps fine soil particles from migrating into the drainage aggregate over time - a process called piping that silts up drain systems within a few years if fabric is skipped.
Backfill in 6-inch lifts, compacting each layer before adding the next. Never use a plate compactor within 3 feet of the wall face - the vibration transfers force directly into the wall and can dislodge courses.
Use a hand tamper in that zone instead. For the full system that carries water away from your property, pairing this drainage layer with a properly graded drainage channel behind the wall significantly reduces long-term pressure.
Clay soil holds water much longer than sandy or loamy soil, which means hydrostatic pressure builds faster and stays higher. If your site has heavy clay, add an extra 6 inches to your drainage stone column width and confirm your drain tile outlets are unobstructed each spring.
Common backfill mistakes include using excavated native clay directly against the wall, omitting geotextile fabric, and failing to daylight the drain pipe. All three errors trap water and accelerate failure.
If you're retrofitting drainage on an existing wall, you can often trench a relief channel at the toe of the wall and install drain tile without full demolition - but it requires careful hand digging to avoid undermining the base.
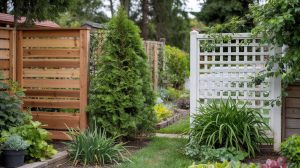
Design Variations and Finishes
Once the structural work is done, design choices are mostly about what the wall faces and what grows around it. A block wall with a uniform gray face can look industrial; the same wall with a stone veneer overlay or a planted cap reads as a natural landscape feature.
Columbus Landmarks' tip sheet notes that varied wall styles require the same core drainage approach regardless of finish material.
Curved walls are possible with most block systems - manufacturers publish a minimum radius for each block profile, typically 5 to 8 feet.
For tighter curves, you'll need to cut blocks or switch to natural stone, which handles curves without cutting because each stone is already irregular.
Leave a 2–3 inch gap between the top cap and any soil used in integrated planters. Direct soil contact against the cap accelerates staining and moisture intrusion, which shortens the life of adhesive-set cap blocks significantly.
Integrated planters - pockets of soil built into the wall face at intervals - add visual softness and can support cascading plants like Aubrieta or creeping thyme. Build planter pockets by leaving out one block and lining the cavity with landscape fabric before filling with planting mix.
This keeps soil from washing out through the wall face.
- Straight block wall: Fastest to build, cleanest look, works well with modern or contemporary landscaping.
- Curved stone wall: Most labor-intensive but integrates naturally into informal or cottage-style gardens.
- Timber with stone cap: Combines the fast installation of timber framing with the durability of a stone top course that resists weathering.
- Multi-tiered walls: Two shorter walls (each under 3 feet) separated by a planted terrace often look better and require fewer permits than one tall wall.
In freeze-thaw climates (USDA Zones 3–6), use cap blocks rated for freeze-thaw cycling and apply a penetrating masonry sealer every 3–5 years. Unsealed caps absorb water, which expands on freezing and spalls the face within a few winters.
Color blending matters more than most homeowners expect. Most block manufacturers offer 2-4 colorways per product line - mix two adjacent shades within the same product line for a natural, varied look without the complexity of full natural stone.
For outdoor lighting that highlights the finished wall at night, check fixture and installation costs before finalizing your design budget.

Permits, Safety, and Maintenance
Most jurisdictions require a permit for any retaining wall over 3 or 4 feet tall (measured from the bottom of the footing to the top of the wall). Some municipalities also trigger permit requirements based on slope steepness or proximity to property lines, regardless of height.
Portland BDS publishes the permit and inspection steps that are representative of what most city building departments require.
Walls over 4 feet typically require a stamped engineer's plan. That costs $500-$2,000 depending on complexity, but it also ensures the wall is designed for your specific soil load - worth every dollar on anything taller than eye level.
Never excavate more than 18 inches deep without shoring the trench walls or sloping them back at a safe angle. Trench collapses are responsible for dozens of construction fatalities each year. OSHA requires protective systems for trenches deeper than 5 feet, but safe practice starts much shallower in loose or sandy soil.
Maintenance is straightforward but time-specific. Inspect the wall every spring after the ground thaws, looking for bulging, tilting, cracked caps, or blocked drain outlets.
Catching a slight lean early - before it exceeds half an inch - usually means re-setting a few courses rather than rebuilding the whole wall.
- Annual check: Clear drain tile outlets of debris and confirm water flows freely through the system.
- Every 3 years: Re-apply masonry sealer to cap blocks in freeze-thaw climates.
- Every 5 years: Check for soil settlement behind the wall and top up with compacted granular fill if voids have developed.
- As needed: Re-glue any cap blocks that have shifted; don't let a loose cap allow water to infiltrate the core.
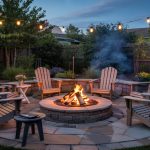
If you're building near a fire pit area or other hardscape features, consider how water from the wall's drain outlets will route across the yard. Planning those grades together saves costly rework later.
See how other slope and hardscape projects coordinate drainage in a single-grade plan. Adding a raised bed near the finished wall is also common - read how to build a raised garden bed that ties into the same grading system.
Frequently Asked Questions
DIY material costs run $300–$2,000 for a 20-foot, 3-foot-tall wall depending on material. Hiring out adds $15–$30 per square foot in labor.
Most jurisdictions require a permit for walls over 3–4 feet tall. Some also require permits based on proximity to property lines, regardless of height.
Concrete interlocking block is the most practical for DIY builds — it creates automatic batter, lasts 50+ years, and is widely available at predictable cost.
The common threshold is 3–4 feet from footing bottom to wall top, but this varies by city. Always verify with your local building department before building.
A 20-foot block wall under 4 feet tall typically takes 2–3 weekends for a capable DIYer, not counting permit processing time, which can add 1–3 weeks.
Pin it for your next how to build a retaining wall project.