Daylilies (Hemerocallis) are among the hardiest, most forgiving perennials you can put in the ground. A single clump can push out dozens of blooms over a six-week window, and a well-maintained planting will keep performing for a decade with minimal intervention.
Most gardeners underestimate how quickly a healthy clump fills in. Left undivided for five or more years, daylilies become so congested that flower production drops sharply and the center of the clump dies out.
This guide covers everything from basic light and soil needs to a full division workflow, plus a look at how cultivar selection affects your bloom season. Whether you're planting your first daylily or refreshing an established bed, the same core principles apply.
For context on how daylilies fit alongside other long-blooming options, the comparison between perennial categories is a useful starting point.
Daylilies are rugged, low-maintenance perennials suited to zones 3–9. They need full sun, about 1 inch of water per week, and division every 3–5 years to stay productive.
Deadheading spent blooms and feeding once in spring keeps plants blooming at their best.
Daylily at a Glance
Daylilies are clump-forming perennials with strap-like foliage and trumpet-shaped flowers that each last a single day. Mature clumps typically reach 1–4 feet tall and spread 1–3 feet wide, depending on cultivar. They are widely adapted across North America and tolerate drought, clay, and neglect better than most flowering perennials.
Remember it later
Planning to try this recipe soon? Save it for a quick find later!
The name "daylily" refers to the fact that each individual flower opens and closes within a 24-hour period. However, a single scape (flower stalk) carries multiple buds, so a healthy plant can produce continuous color for two to four weeks.
According to University of Minnesota Extension, daylilies are rugged perennials with wide adaptability that perform reliably across most temperate climates. Their growth habit ranges from compact dwarf varieties topping out at 12 inches to tall border cultivars reaching 48 inches.
Most modern cultivars are tetraploid hybrids bred for larger flowers, richer colors, and extended bloom windows. Older diploid varieties like the common orange roadside daylily (Hemerocallis fulva) are tougher but less refined.
Expect clumps to establish slowly in year one, fill out in year two, and hit peak bloom performance by year three. That pattern holds whether you're starting from bare-root divisions or potted nursery plants.
Daylily Care Essentials
Getting daylily care right comes down to matching site conditions to the plant's preferences, then staying consistent with a handful of seasonal tasks.
Most problems - poor bloom, weak foliage, disease - trace back to one of three issues: too little sun, waterlogged soil, or an overcrowded clump.
Light and Site Selection
Daylilies produce the most flowers in full sun - at least 6 hours per day. They'll survive in partial shade, but expect noticeably fewer blooms and weaker scapes that tend to flop.
For gardeners in hot southern climates, light afternoon shade can actually protect flower color from bleaching. Pale or pastel cultivars benefit most from that protection.
Check what's working for sun-loving plants in your zone before finalizing your bed placement.
Soil and Mulch
Daylilies adapt to most soil types, but they perform best in moist, well-drained, slightly acidic soil with a pH between 6.0 and 6.5. Heavy clay that stays wet after rain is the one condition that consistently causes root rot and crown disease.
Amend clay beds with compost before planting. A 2- to 3-inch layer of mulch helps retain moisture, suppress weeds, and moderate soil temperature - apply it after planting but keep it pulled back about an inch from the crown to prevent rot.
Watering
Water newly planted daylilies deeply every two to three days for the first two weeks. Once established, 1 inch of water per week (including rainfall) is sufficient for most climates.
Water at the base of the plant, not overhead. Wet foliage during humid summers encourages fungal leaf streak, one of the more common daylily diseases.
Daylilies are surprisingly drought-tolerant once their root system is established — typically by the end of their first full growing season. A brief dry spell won't kill a mature clump, but it will reduce bloom count.
Deadheading Spent Blooms
Deadheading isn't strictly necessary for plant health, but it makes a real difference in garden appearance and can extend the bloom season. Remove each spent flower daily by snapping or cutting it off at the base of the bloom, not the scape.
Once all buds on a scape have opened and finished, cut the entire scape down to the foliage line. Leaving old scapes standing is purely cosmetic - they don't feed the plant.
For a deeper look at timing and technique, the guide on removing spent blooms correctly covers the mechanics well.
Fertilization
Daylilies are not heavy feeders. A single application of a balanced, slow-release granular fertilizer (10-10-10 or similar) worked into the soil at planting, or broadcast around established clumps in early spring, is usually enough.
Avoid high-nitrogen fertilizers after midsummer. Late-season nitrogen pushes leafy growth at the expense of next year's flower buds, which are set in late summer and fall.
A second light feeding immediately after the main bloom flush can encourage rebloom in cultivars that are bred for it. Not all daylilies rebloom - check the cultivar description before expecting a second wave.
Pests and Disease
Aphids and thrips are the most common insect pests, and both respond to a strong blast of water or insecticidal soap.
Daylily rust (Phakopsora hemerocallidis), a fungal disease, is the most serious disease threat in humid regions - look for orange powdery pustules on leaf undersides.
Remove and bag infected foliage rather than composting it. Resistant cultivars exist and are worth seeking out if rust is a recurring problem in your area.
You may also find useful parallels in how to handle disease pressure when reading about managing fungal issues on woody plants.
Cultivar Selection
There are over 80,000 registered daylily cultivars, so selection matters. For continuous summer color, choose a mix of early, midseason, and late varieties.
Reblooming cultivars like 'Stella de Oro' (dwarf, yellow, prolific) and 'Happy Returns' can flower from June through frost with proper deadheading and feeding.
Fragrant varieties like 'Hyperion' add a bonus in evening gardens. Tetraploid cultivars generally have larger, more ruffled flowers than diploids but are sometimes slower to establish after division.

Seasonal Care and Division Workflow
Daylily care follows a clear seasonal rhythm. Spring is for feeding and establishing new plants.
Summer is for deadheading, watering, and watching for pests. Fall is the best window for division in most climates.
Winter requires almost nothing in zones 5 and above.
Staying ahead of the seasonal calendar is the single most effective way to keep blooms abundant and beds tidy. Our summer garden maintenance checklist includes daylilies alongside other mid-season tasks worth batching together.
When to Divide Daylilies?
Division is necessary when clumps become congested - typically every 3 to 5 years. Signs include a hollow or dead center, reduced bloom count, or scapes that are noticeably shorter than in previous years.
According to Oregon State University Extension, dividing perennials maintains vigor and the target is to keep at least two growing points per division. For daylilies, early fall (late August through September) and early spring (before new growth exceeds 3 inches) are both reliable windows.
Fall division gives roots time to establish before winter without the stress of summer heat. Spring division is fine in cooler climates but may delay bloom by a full season in the year of division.
This timing aligns with the guidance in the K-State Research and Extension daylily guide, which recommends replanting divisions at the same depth they were growing.
If you're comfortable with the general mechanics of perennial propagation, the detailed walkthrough on splitting crowded clumps covers tools and timing across plant types.
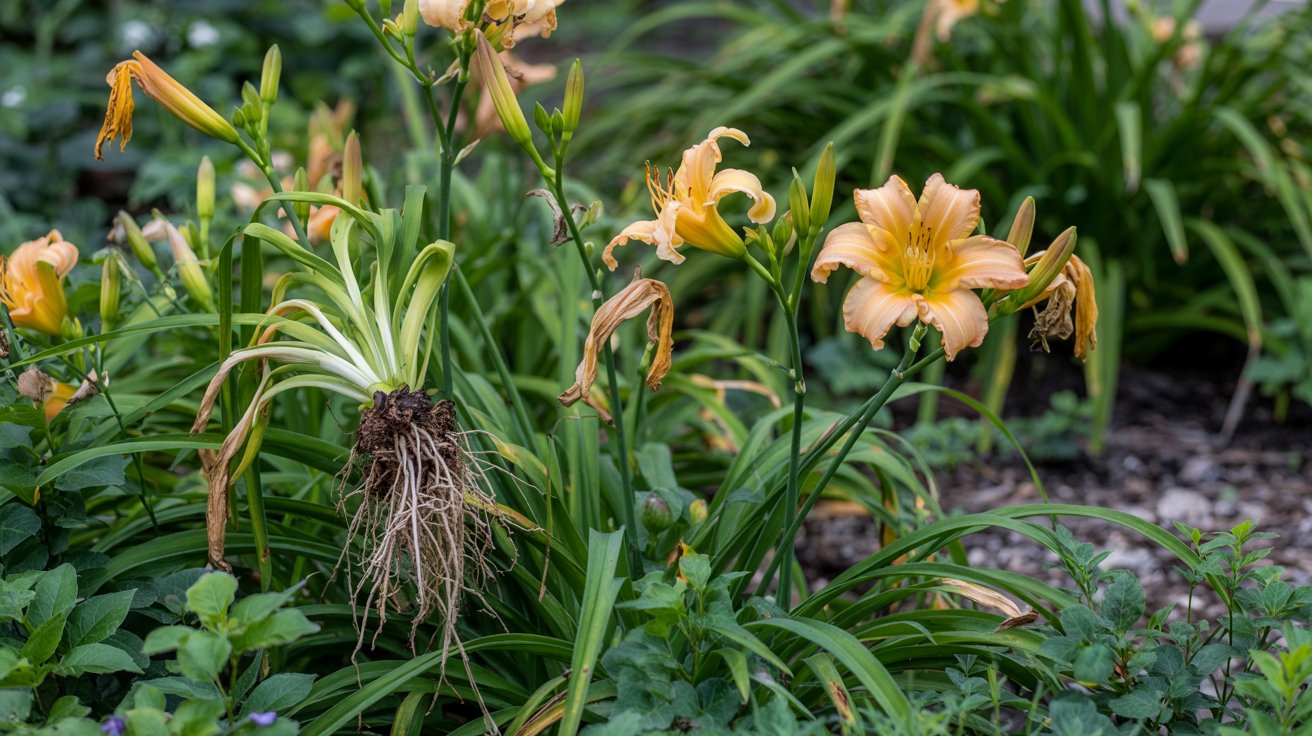
Step-by-Step Division
After division, cut the foliage back hard even if it looks healthy — the trimmed root system can't support a full canopy. Plants that skip this step often drop leaves and stall for weeks before recovering.
Daylily division pairs naturally with other late-season perennial work. If you're also maintaining peonies with established clumps or refreshing beds with fall-blooming plants, batch the digging work together in early September for efficiency.
Divisions that aren't replanted immediately can be stored in a cool, shaded spot for up to two days with roots kept moist. Wrap them loosely in damp newspaper or burlap - don't leave them sitting in standing water.
For gardeners tracking care across multiple plant types indoors and out, the structured approach used in managing a low-maintenance houseplant illustrates how consistent seasonal habits produce better long-term results.
The same logic applies to daylilies: small, timely actions - dividing before congestion peaks, deadheading before seed set - add up to reliably productive plants year after year.
Frequently Asked Questions
Divide daylilies every 3–5 years when clumps show a dead center or reduced bloom. Early fall (late August–September) is the most reliable window in most climates.
Only specific cultivars rebloom. Varieties like 'Stella de Oro' and 'Happy Returns' can flower from June through frost with consistent deadheading and a midsummer feeding.
A balanced 10-10-10 slow-release granular fertilizer applied once in early spring is sufficient. Avoid high-nitrogen formulas after midsummer, which reduce next year's flower bud development.
Daylilies are not reliably deer resistant — deer readily browse both foliage and flower buds. Physical barriers or repellent sprays are the most effective deterrents in high-pressure areas.
Yes, dwarf cultivars like 'Stella de Oro' grow well in containers at least 12 inches deep. Container plants dry out faster, so check soil moisture every 1–2 days during summer heat.
Pin it for your next how to grow and care for daylily project.