Gravel has been used as a ground cover for outdoor living spaces for centuries - from French jardins en gravier to Victorian kitchen gardens - and the technique works just as well today as it ever did.
A well-built gravel patio costs a fraction of concrete or pavers, drains naturally after rain, and can be installed in a single weekend without renting heavy equipment.
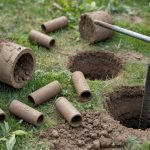
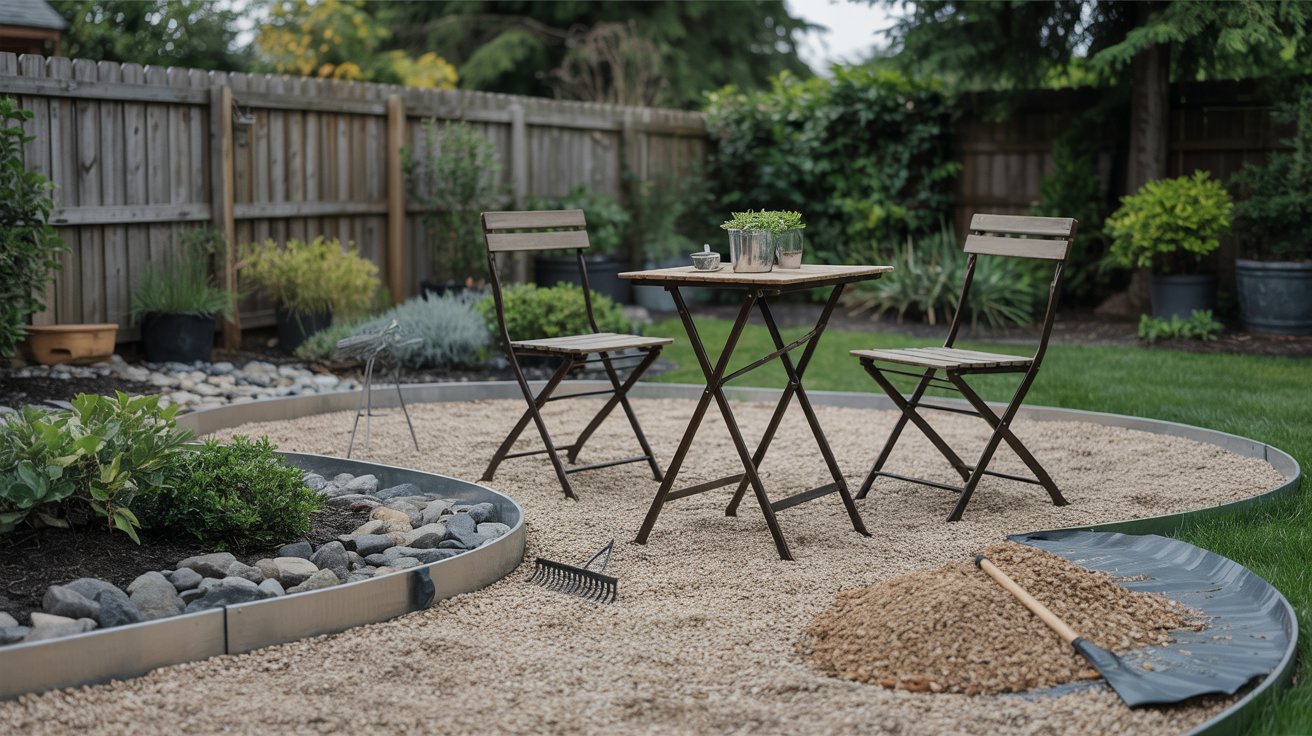
Building a gravel patio under $500 requires excavating 4-6 inches of soil, laying a compacted road base, installing edge restraints, and topping with decorative gravel. The process takes one to two weekends and no special licensing.
What the Budget Covers (and Where to Spend It)?
A 10×10 gravel patio - 100 square feet - is a realistic weekend project for one person with a shovel and a wheelbarrow. Scaling up to 12×16 (192 sq ft) is still doable for under $500 if you shop materials carefully.
Remember it later
Planning to try this recipe soon? Save it for a quick find later!
Before you buy anything, knowing where your money goes prevents expensive mid-project surprises.
| Material | Quantity | Estimated Cost |
|---|---|---|
| Class II road base (base layer) | 2 tons | $80-$120 |
| Pea gravel or crushed stone (top layer) | 1 ton | $60-$100 |
| Landscape fabric | 200 sq ft roll | $25-$40 |
| Plastic or steel edge restraints | 60 linear ft | $50-$90 |
| Landscape staples (box of 100) | 1 box | $15-$20 |
| Stakes and string line | — | $10-$15 |
| Plate compactor rental (optional) | 1 day | $60-$80 |
| Total | — | $300-$465 |
Delivery fees for bulk gravel vary by region - local quarries often charge $40-$75 per load. Buying bagged gravel from a home improvement store costs more per ton but skips the delivery fee for smaller patios.
Check per-ton gravel pricing in your area before deciding which route saves you more.
Order 10% more gravel than your calculation suggests. Compaction and edge spillage eat into your total, and a second delivery will cost more than the buffer gravel.
Materials and Tools You Need Before You Dig
Gathering everything before day one prevents the mid-project hardware store runs that derail DIY timelines. Most of these tools you already own - the only potential rental is the plate compactor, and it's optional for small patios.
- Shovel and mattock: A flat spade cuts sod cleanly; a mattock breaks up compacted subsoil faster than any shovel.
- Wheelbarrow: Moving 3 tons of material by hand without one is exhausting. Rent if you don't own.
- Tamper or plate compactor: A hand tamper works for areas under 150 sq ft. Rent a plate compactor for larger jobs - it compacts the base 3x faster and more evenly.
- Landscape fabric and staples: Heavy-duty woven fabric (3.0 oz or higher) blocks weeds without blocking drainage. Avoid plastic sheeting - it traps water.
- Edge restraints: Flexible plastic bender board works for curved edges; steel edging gives a sharper line on straight runs. Both need landscape stakes every 12 inches.
- Stakes and string line: You'll set the slope and square the layout with these - don't skip them.
- Level and measuring tape: A 4-foot level confirms your drainage slope during base compaction.
Never skip the compacted base layer. Gravel poured directly over uncompacted soil sinks unevenly within one season — no matter how thick you pour it. Two inches of compacted Class II road base is what separates a lasting patio from a muddy mess.
Step by Step: Building Your Gravel Patio
The sequence matters here. Rushing ahead to pour gravel before the base is solid is the single most common reason DIY gravel patios fail inside two years.
Follow the order below and the patio will stay level and weed-free for a decade or more.
Pea Gravel vs Crushed Stone: Which Surface to Choose
The base layer is always the same - compacted Class II road base - but your top layer choice affects how the patio feels, looks, and stays put.
If you're already comparing gravel to concrete as a surface, the differences between gravel types matter just as much as the material category itself.
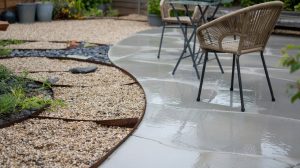
Pea gravel is the more popular choice for residential patios because it's comfortable for chairs and bare feet.
Crushed granite or ⅜-inch angular stone works better when you want a firmer surface for furniture stability or plan to add a fire pit nearby where shifting gravel is a hazard.

How to Handle Slope, Drainage, and Problem Spots?
Drainage is the part most budget guides gloss over, and it's why some gravel patios look waterlogged a year after installation. Getting water moving away from the house is non-negotiable - the slope you cut during excavation does most of the work.
- Minimum slope: 1 inch of fall for every 8 feet of run, directed away from any structure. Less than this and water pools in the center.
- Clay soil sites: Add an extra inch of road base depth and consider a French drain along the low edge if the yard doesn't shed water naturally.
- Tree root areas: Avoid installing under mature trees - roots lift gravel and clog drainage within a few seasons. Choose a spot with at least 10 feet of clearance from large root zones.
- Low spots in yard: If the patio area sits in a natural depression, build up the surrounding grade first - gravel won't fix a water collection problem, it'll just hide it temporarily.
Never install landscape fabric over live grass or unexcavated sod. Grass decomposes underneath, creating a spongy, uneven base. Full excavation to mineral soil is the only starting point that produces a stable, long-lived surface.
Mistakes That Cost Money to Fix Later
Most gravel patio failures come down to three skipped steps. Each one feels like a time-saver on day one and a headache every year after.
- Skipping the road base layer: Decorative gravel alone has no structural stability. Without 3-4 inches of compacted aggregate underneath, heavy furniture creates ruts and rain washes channels through the surface within one season. Budget for the base - it's what you're actually building the patio on.
- Under-staking the edge restraints: A stake every 24 inches instead of every 12 inches lets edging bow outward under gravel pressure. Fix costs more than the extra stakes - the gravel spreads and you have to re-dig and reset the entire border.
- Using the wrong landscape fabric: Thin, non-woven garden fabric (the flimsy black kind) breaks down in 2-3 years and allows weed germination once it tears. Spend the extra $10 on woven polypropylene fabric rated at 3.0 oz or heavier. If you're already weighing other hard surfaces for durability, this fabric difference is one reason gravel patios sometimes get a bad reputation they don't deserve.

Expanding or Upgrading the Patio Over Time
One genuine advantage gravel has over concrete or pavers is that it's easy to modify without demolition. Most homeowners who start with a basic 10×10 add to it - or change it entirely - within a few years.
Planning for that now saves money later.
Run your edge restraints in a continuous loop even if you plan to expand later - a small gap left "for extension" fills with weeds before you return to it. Instead, install the full perimeter and simply butt new edging against the existing section when you extend.
Gravel costs far less to expand than any poured surface because there's no formwork, curing time, or demolition when you change your mind.
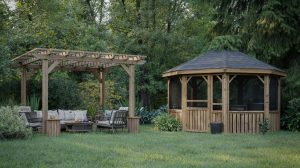
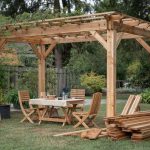
- Add a pergola: Set post footings at the perimeter before spreading gravel so you never have to dig through the finished surface. A DIY pergola structure pairs well with a gravel base because you can adjust or replant around it without breaking anything.
- Stepping stones: Set flagstone or concrete pavers directly into the gravel after the fact - no additional base prep needed for occasional foot traffic paths.
- Top-dress every 2-3 years: Gravel thins out through normal use. Add a half-inch top coat of fresh gravel to restore depth without disturbing what's underneath. Budget roughly $30-$60 per top-dress for a 12×16 area.
A well-built gravel patio with proper compaction and edging typically lasts 15-20 years before needing more than periodic top-dressing. The fabric and edging are the components to inspect annually — gravel itself doesn't degrade.
If you decide gravel isn't the right fit after living with the space, the removal process is straightforward compared to concrete. Shovel out the top layer, roll up the fabric, and you're left with a compacted base that works as a starting point for pavers or another surface.
When comparing decorative surface options down the line, that flexibility is a real financial advantage gravel holds over poured materials.
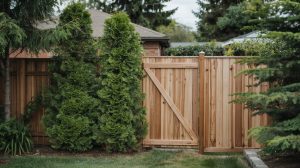
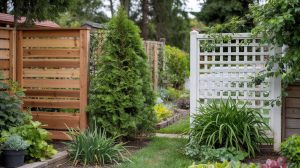
For overall backyard design planning, gravel works especially well as the connective surface between defined zones - fire pit area, seating area, and garden beds - because it reads as a unified ground plane even when furniture arrangements change.
And if you're still deciding between hardscape types, concrete per square foot runs $8-$18 installed versus $2-$5 for a gravel patio you build yourself.
Frequently Asked Questions
A 10×10 patio (100 sq ft) needs roughly 0.6 tons of decorative gravel at 2 inches deep, plus about 1.2 tons of Class II road base at 3-4 inches — order a combined 2 tons to cover compaction loss and edge spillage.
Pea gravel works well for patios when contained by solid edge restraints — its rounded shape is comfortable underfoot and drains excellently, but it migrates more than angular crushed stone, so staking edging every 12 inches is essential.
The compacted road base layer should be 3-4 inches thick, topped with 2 inches of decorative gravel — a total excavation depth of 5-6 inches gives you a stable, long-lasting surface that resists settling and frost heave.
No — laying gravel directly over grass creates an unstable, uneven surface as the grass decomposes into a spongy layer underneath. Full excavation to mineral soil is required before any base material goes down.
A properly built gravel patio with compacted base and heavy-duty woven fabric typically lasts 15-20 years with minimal maintenance — plan on adding a half-inch top-dress of fresh gravel every 2-3 years to replace what thins through regular use.
Pin it for your next how to build a gravel patio for under $500 project.