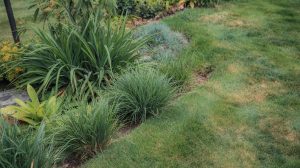
A thin layer of thatch is normal. But once that spongy, brown layer between your grass blades and the soil crosses the half-inch mark, water pools on top, fertilizer bounces off, and roots start suffocating.
Dethatching fixes that - and your lawn will show the difference within two to three weeks.
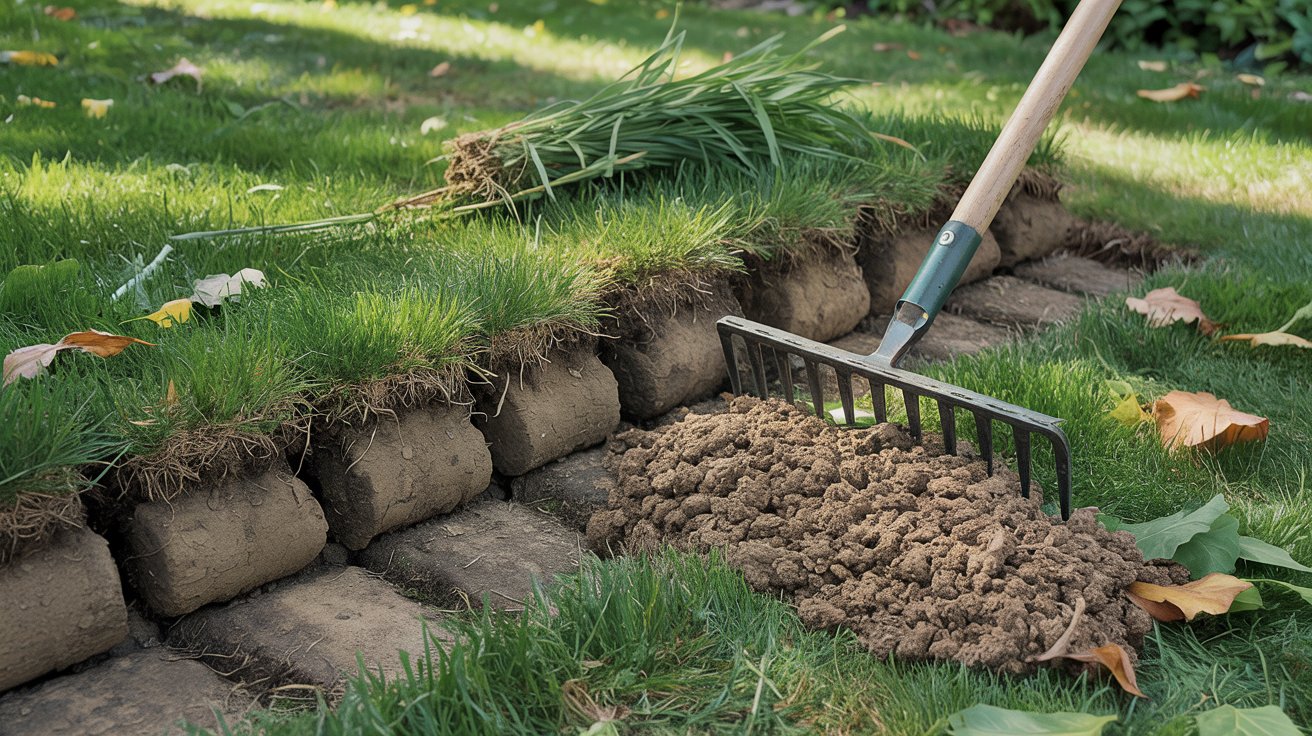
Dethatching removes the compacted organic layer blocking water and nutrients from reaching grass roots. Best done during active growth — early spring for cool-season lawns, late spring for warm-season.
Use a hand rake for small areas or a power rake for heavy buildup over one inch.
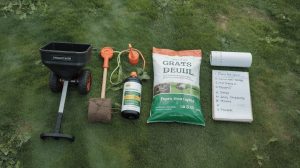
What You'll Need Before You Start?
Matching the right tool to your lawn size makes the job faster and avoids unnecessary damage. A hand dethatching rake works fine for small patches, but anything over 2,000 square feet with thatch deeper than one inch calls for a powered machine.
Remember it later
Planning to try this recipe soon? Save it for a quick find later!
- Hand dethatching rake: Verticutting tines pull thatch to the surface without a motor. Costs $20-$50 and suits smaller lawns or light buildup under 0.75 inches.
- Power rake or electric scarifier: Motorized tines cut deeper and cover ground faster. Rental runs $60-$120 per day - worth it for lawns over 3,000 square feet.
- Core aerator: Not strictly a dethatching tool, but running one after dethatching helps break compaction and speeds recovery. Rentals start at $40-$90 per day.
- Leaf rake or garden rake: Used after the dethatcher passes to collect loosened debris into workable piles.
- Wheelbarrow and heavy-duty yard bags: Thatch from a medium lawn fills three to six large bags. Plan for volume.
- Gloves: The tines on dethatching rakes are aggressive. Standard work gloves prevent blisters on longer jobs.
Call your local equipment rental shop a week ahead. Power rakes book out fast in early spring — the same two weekends when everyone else decides to dethatch.
How to Dethatch Step by Step?
Work through these steps in order. Skipping the mow or the measurement check is how people either damage healthy grass or waste time dethatching a lawn that didn't need it.
Power rakes set too deep strip out grass crowns and leave bare patches. Start shallow — you can always make a second pass, but you can't undo a scalped lawn.
Power Rake vs. Dethatcher: Picking the Right Machine
The terms "power rake" and "dethatcher" get used interchangeably at rental counters, but they behave differently on your lawn. The right choice depends on thatch depth and grass type.
A standard dethatcher handles most home lawns without stress. Reserve the power rake for thick-stemmed warm-season grasses or severe thatch over an inch deep.
Understanding your grass species and its growth habits helps you make the call before you rent.
Zone-Specific Timing That Changes the Outcome
Timing is the single factor most homeowners get wrong. Dethatching too early in spring - before soil temperatures reach 50°F - or in summer heat puts grass under double stress.
Zones 3–5: Wait until mid-April to early May when nighttime temps stay above 40°F consistently. Zones 6–7: Early April works for cool-season grasses. Zones 8–10: Target late April through June for Bermuda and St. Augustine — after green-up but before peak summer heat above 90°F.
- Zones 3-5 (cool-season): Early fall dethatching in late August to mid-September gives grass six weeks to recover before first frost. Spring works too, but fall is often better for these zones.
- Zones 6-7 (transition zone): Identify your grass type first - this zone hosts both cool- and warm-season varieties. Kentucky bluegrass and tall fescue get dethatched in spring or fall; Bermuda waits until late May.
- Zones 8-10 (warm-season): Late spring is the sweet spot. Bermuda, Zoysia, and drought-tolerant warm-season grasses recover fast when soil temps hit 65°F or above.

What to Do Right After Dethatching?
A freshly dethatched lawn looks rough - thin, patchy, and temporarily worse than before. That's normal.
What happens in the next 48-72 hours determines how fast it recovers.
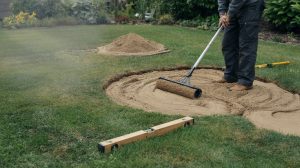
Water deeply immediately after cleanup, pushing about an inch of water into the soil. This step is non-negotiable; stressed roots after dethatching dry out fast.
You can also core aerate the lawn within the same week to break compaction and extend the benefit of dethatching.
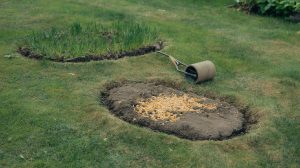
- Overseed bare spots: Thin or bare patches are common after heavy dethatching. Apply seed within two to three days while the soil surface is open and receptive. Getting overseeding timing right doubles germination success.
- Apply starter fertilizer: A starter fertilizer high in phosphorus supports root regrowth in the weeks after dethatching. Avoid high-nitrogen formulas right away - pushing top growth before roots recover causes stress. Comparing lawn fertilizer options helps you pick the right ratio for recovery.
- Hold off on heavy foot traffic: Keep kids, pets, and mowers off the lawn for at least five to seven days. Recovering crowns need time to re-anchor without compression.
- Resume normal watering in week two: After the first deep soak, scale back to your usual schedule once new growth appears - typically within seven to ten days.
If large bare patches appear after dethatching, topdress with a thin quarter-inch layer of compost before overseeding. It speeds germination and protects seed from drying out.
3 Dethatching Mistakes That Set Recovery Back
These errors show up repeatedly on home lawns. Each one is easy to avoid once you know what causes it.
- Dethatching too deep: Setting the machine tines to penetrate soil rather than just thatch pulls out grass crowns and leaves large bare patches. Fix by topdressing and overseeding immediately - waiting makes the bare areas worse as weeds move in. A sod patch may be faster for large damaged sections.
- Thatch rebuilds within a season: Chronic over-fertilization, shallow daily watering, and compacted soil all accelerate thatch. Address the root cause - water deeply twice a week instead of lightly every day, and reduce nitrogen applications. Good overall lawn care practices prevent the cycle from repeating.
- Poor seed germination after overseeding: Dethatching outside the optimal temperature window or failing to keep seed moist leads to germination failure. Check soil temps before overseeding - cool-season seed needs 50-65°F, warm-season seed needs 65-75°F. Knowing how your lawn's edges dry out faster than the center helps you water those spots more precisely.
Frequently Asked Questions
Most lawns need dethatching every one to three years depending on grass type — Bermuda and Kentucky bluegrass build thatch faster than tall fescue, sometimes requiring annual attention in zones 6–10.
A power rake uses aggressive flail blades that cut through thatch over one inch thick, while a dethatcher uses spring tines that lift and pull — making it safer for thatch between 0.5 and one inch deep.
Dethatching in summer when temperatures exceed 85°F stresses grass before it can recover — the one exception is warm-season grasses in zones 8–10 during early summer before peak heat arrives in July.
Dethatching temporarily stresses the lawn and leaves it looking thin for one to two weeks, but when done at the right depth and season, grass fills back in fully within three to four weeks.
Pin it for your next how to dethatch your lawn project.