A freshly sodded lawn looks finished the same day you install it - no bare patches, no waiting weeks for seed to fill in. That immediacy is exactly why sod has become the go-to choice for homeowners who want a usable yard fast.
The process isn't complicated, but it rewards preparation. Skipping even one step - like grading the soil or timing your delivery - can cost you an entire pallet of sod.
This guide walks through every phase: measuring and prepping the site, choosing the right cultivar, laying pieces in a brick pattern, and keeping roots alive through the critical first two weeks.
We also cover when seeding makes more sense, and how to rescue sod that's struggling.
According to the University of Minnesota Extension, sodding delivers an instant lawn but costs more upfront than seeding - so knowing which method fits your situation is part of the plan.
Laying sod requires soil prep, correct cultivar selection, a tight brick-pattern installation, and a precise watering schedule for the first 10–14 days. Done right, you'll have a rooted, walkable lawn in under three weeks.
Order sod for delivery on the same morning you plan to install it. Sod left on pallets in summer heat for more than 24 hours begins to deteriorate at the root layer.
Plan, Prep, and Site Readiness
Good sod installation starts two or three days before a single roll hits the ground. Measure your lawn area carefully - length times width in square feet - then add 5-10% extra to account for cuts and irregular edges.
Remember it later
Planning to try this recipe soon? Save it for a quick find later!
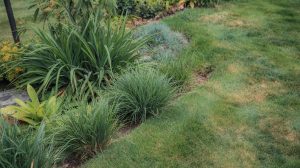
Map out curved beds, obstacles, and downspout locations so you know where cuts will land.
Check sun exposure across the whole area at different times of day. A yard that's part shade and part full sun may need two different cultivars or a shade-tolerant blend.
According to Minnesota Extension sodding guidance, proper drainage and site readiness are the biggest predictors of successful establishment. A sloped, well-amended bed gives roots somewhere to go immediately.
- Confirm sod delivery is scheduled for installation day - not the day before.
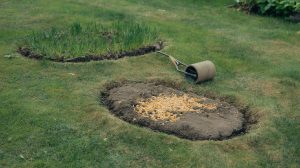
- Rake out all high and low spots before laying a single piece.
- Follow a year-round maintenance plan so the base soil stays in good shape for future repairs.
- Don't till if the existing soil structure is already firm - tilling without purpose creates drainage problems.
- Don't install sod over existing lawn without full removal first.
- Don't skip the grading step if you have a flat yard - even minimal slope matters.
Sod Selection and Sourcing
The cultivar you choose determines how much water, sun, and traffic your lawn can handle long term. Cool-season grasses - like tall fescue and Kentucky bluegrass - suit Zones 3-7, while warm-season types like Bermuda and Zoysia perform in Zones 7-11.
If you're unsure which grass fits your region, the ryegrass vs. fescue comparison covers the key differences for northern climates.
Traffic tolerance matters as much as climate match. A backyard with kids and dogs needs a wear-tolerant variety like tall fescue or Bermuda - not a fine fescue blend designed for low-traffic ornamental areas.
When sourcing sod, buy from a local grower whenever possible. Locally grown sod is already adapted to your soil type and regional pest pressures.
Ask the supplier when the sod was cut - freshness within 24 hours of harvest is the target. Sod that's been stacked on pallets in warm weather for two or more days shows yellowing and root damage at the base.
Before ordering, estimate your sod budget by square footage so you're not caught short. Sod typically runs $0.30-$0.85 per square foot at the supplier, not including delivery or installation labor.
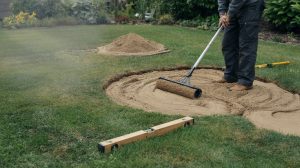
UC ANR's sod installation guide notes that rolling after laying and maintaining consistent moisture keeps roots establishing evenly for the first 10-14 days - so factor that into your post-install schedule before ordering.
Step-by-Step: Install Sod
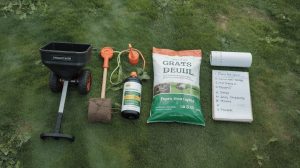
Installation day moves fast. Have your tools ready: a sod knife, garden hose, lawn roller, and straight-edged spade.
Start laying sod within 30 minutes of delivery - every hour on a warm day stresses the roots further.
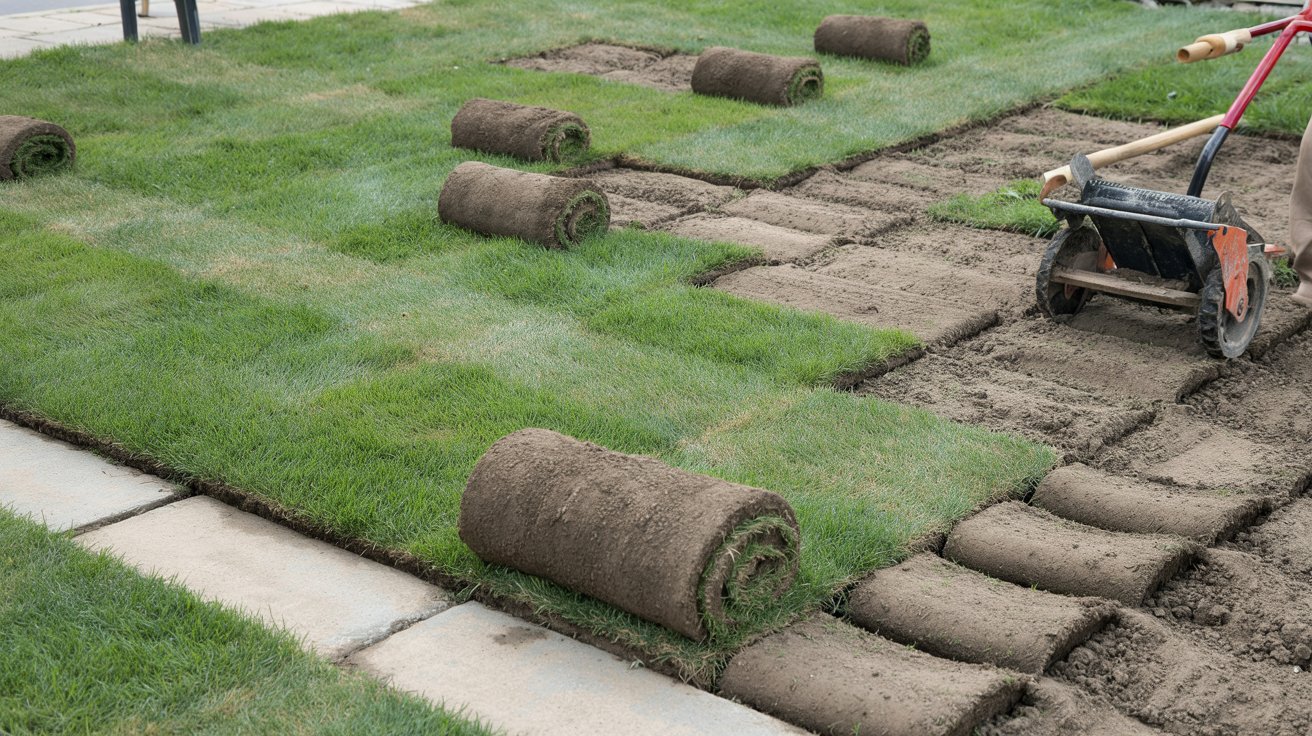
Lay pieces along the longest straight edge first, typically a sidewalk, driveway, or fence line. Stagger each row like bricks so seams never line up - that single detail prevents visible lines and weak spots as the lawn fills in.
One common mistake is leaving gaps between pieces and assuming they'll fill in. They won't - those seams dry out within a day in summer heat and become dead strips.
Push pieces together firmly as you go, using your hands or a flat tool to close any gap wider than a pencil.
If your lawn needs repairs after establishment, our guide on how to fix patchy, uneven lawn covers targeted solutions that don't require re-sodding the whole area.
Watering Schedule and Establishment
The first two weeks after installation are the only window you can't afford to miss. Roots haven't attached to native soil yet, so the sod is completely dependent on surface moisture to stay alive.
Week one: water twice daily - early morning and mid-afternoon - keeping the top 1 inch of soil consistently moist but not waterlogged. In temperatures above 85°F, add a third short cycle at midday.
Week two: reduce to once daily, watering deeply enough to reach 2-3 inches into the soil. You're training roots to grow down, not stay shallow.
The UF/IFAS lawn watering guide recommends adjusting frequency based on local soil moisture rather than sticking to a rigid schedule - sandy soils dry faster than clay.
Week three and beyond: shift to every 2-3 days, targeting 1 inch of water per week total. At this point, the sod should resist light tugging - a sign roots are anchoring into the native soil.

Sod vs Seed: Costs, Time, and Maintenance
Sod gives you a finished lawn in a day. Seed takes 3-6 weeks to germinate and another full season to fill in densely.
For most suburban homeowners with a defined install window, sod is the practical choice - even at a higher upfront cost. For a full breakdown of timing and long-term grass performance, both options have real trade-offs worth knowing.
Seeding costs roughly $0.05-$0.20 per square foot for seed alone, versus $0.30-$0.85 per square foot for sod. But seed requires more weed management in the first season, while fresh sod blocks weed germination almost immediately by covering the soil completely.
If you're weighing synthetic alternatives, our artificial turf cost breakdown puts the long-term numbers in perspective. And if you're considering overseeding an existing lawn rather than full sod installation, check whether overseeding makes sense for your situation first.
Troubleshooting and Seasonal Timing
Even a well-installed lawn runs into problems. Most issues appear in the first 10 days and fall into a handful of categories: air pockets, seam separation, drought stress, or premature foot traffic.
- Air pockets: If the sod feels spongy underfoot, re-roll the area with a water-filled roller and increase watering frequency for 48 hours.
- Seam browning: Dry seams between pieces mean gaps weren't pressed tight enough. Fill narrow gaps with a mix of soil and compost, then water thoroughly.
- Drought stress: Edges and corners dry out first. Hand-water those spots between irrigation cycles during hot weather.
- Weed encroachment: A few weeds pushing up through seams is normal. Pull them by hand in the first month - avoid chemical selective weed control until the lawn has been mowed at least twice.
Timing matters as much as technique. Cool-season sod installs best in early fall (soil still warm, air cooler) or early spring.
Warm-season sod in late spring through early summer gives roots time to anchor before winter dormancy. UC ANR's installation data confirms that rolling and consistent moisture correct most early rooting problems before they become permanent.
Avoid laying sod when soil temperatures are below 50°F or air temperatures exceed 95°F. In either extreme, root development stalls and the sod sheet dies before anchoring. Check your summer garden maintenance plan if you're working in hot conditions.
Our broader lawn establishment and care resources cover regional timing variations in more detail if your climate falls outside the typical spring/fall window.

Frequently Asked Questions
Most sod varieties develop initial root attachment within 10–14 days. Full, deep rooting into native soil takes 4–6 weeks depending on soil temperature and watering consistency.
Wait until the sod resists a light tug — typically 2–3 weeks. Mow at the highest setting your mower allows for the first cut to reduce stress on shallow roots.
Sod laid when soil temperatures drop below 50°F won't root properly and may die. In mild-winter climates like Zones 8–10, winter installation is possible if soil stays workable.
Tilling isn't always necessary. If the existing soil is severely compacted, till 4-6 inches deep. Otherwise, lo
Pin it for your next how to lay sod step by step project.