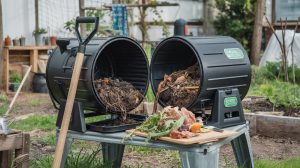
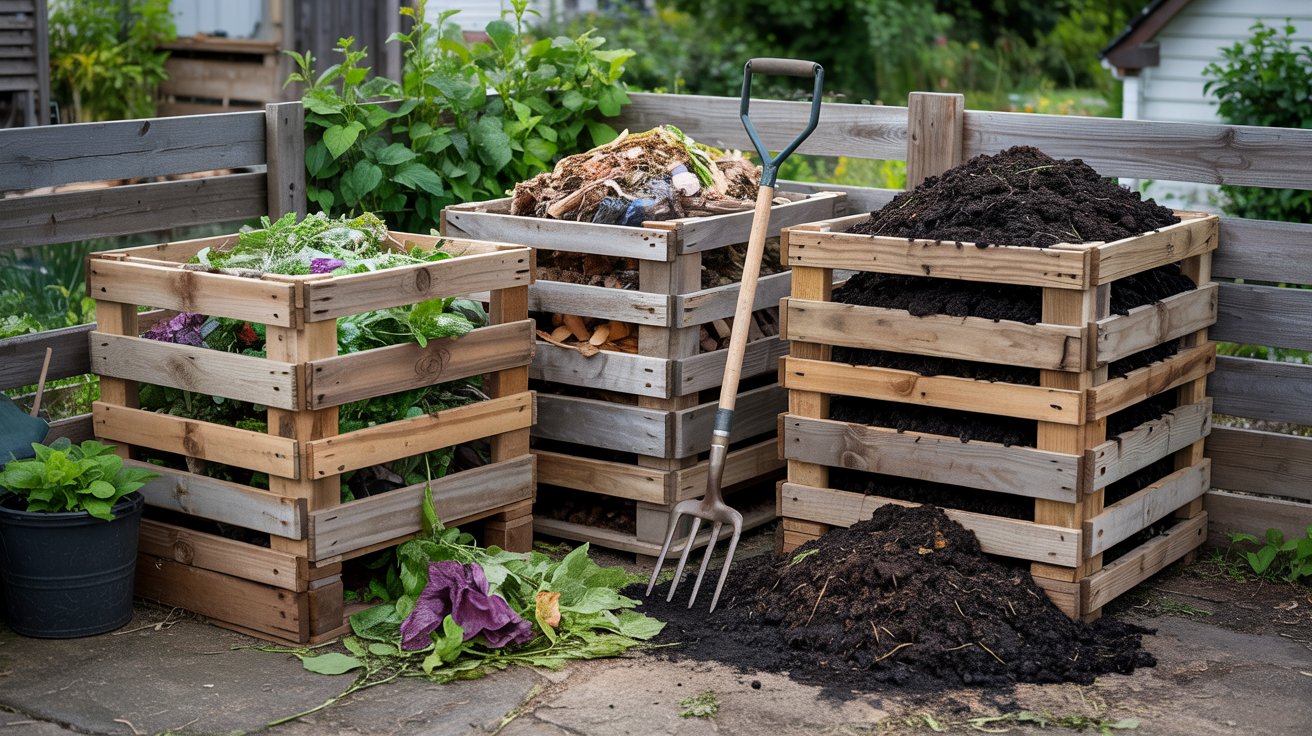
A diy compost bin made from free pallets is one of the fastest ways to start turning kitchen scraps and yard waste into rich garden soil. Most builds cost under $20 and take less than two hours from first pallet to finished frame.
Pallets are everywhere - behind grocery stores, garden centers, and hardware shops. The trick is knowing which ones are safe to use and how to put them together so the bin stays standing through a full composting cycle.
This guide gives you a lean four-step build plan, a full materials list with cost ranges, and a maintenance routine that keeps your bin working without much effort.
If you want to compare other container styles first, our guide to choosing the right compost bin covers wire, tumbler, and plastic options side by side.
We skip the fluff and focus on what actually matters: safe pallets, a stable frame, and a bin that produces finished compost in two to four months.
Build a 4-pallet compost bin in under 2 hours using heat-treated pallets, a handful of hardware, and basic tools. The EPA recommends a contained bin with good airflow for home composting.
Total cost typically runs $0–$25 depending on hardware and whether pallets are free.
Quick Start Plan
Before picking up a single pallet, it helps to see the full build at a glance. This four-step sequence moves from sourcing to a standing, usable bin - no carpentry experience needed.
Remember it later
Planning to try this recipe soon? Save it for a quick find later!
Each step is designed to take 20-30 minutes. The total build time stays under two hours if your pallets are already on-site and your tools are ready.
Never use pallets stamped MB (methyl bromide). That chemical fumigant can leach into your compost and harm plants. Damaged pallets with cracked or split boards are also a safety risk — broken slats can collapse under the weight of a full bin.
Materials, Pallets and Plans
A basic pallet compost bin needs very little beyond the pallets themselves. The hardware list is short, and most items cost a few dollars at any home improvement store.
Free pallets are available at garden centers, big-box stores, and lumber yards - call ahead and ask. Paid pallets from hardware stores typically run $5-$15 each, but many retailers give them away to avoid disposal fees.
The EPA home composting page recommends a bin that holds at least one cubic yard - a standard four-pallet design meets that threshold comfortably.
| Item | Quantity | Notes |
|---|---|---|
| HT-stamped pallets (48"x40") | 4 | Free–$15 each |
| Heavy-duty zip ties or baling wire | 12–16 | ~$5/pack |
| Corner brackets (optional) | 4 | ~$2–$4 each |
| Screws or lag bolts (3") | 8–12 | ~$5/box |
| Hardware cloth (optional lid) | 1 piece, 4'x4' | ~$10–$15 |
| Hinges (if hinging front panel) | 2 | ~$3–$6/pair |
The HGTV pallet bin guide shows how corner brackets and screws produce a more rigid frame than zip ties alone - worth the extra few dollars if your site gets wind. For layout, a simple U-shape with a removable front panel is the most beginner-friendly option.
You can also build a two-bin side-by-side design using six pallets, which lets you turn compost from one bay into the other.
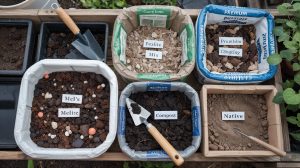
Understanding your garden soil structure before you start composting helps you target what amendments your finished compost needs to produce.
If pallets are free and you already own basic tools, your total spend is under $10. Even buying everything new, the build stays well under $50 - far cheaper than a manufactured bin.
You can apply the same repurposing mindset to other outdoor builds; a stone fire pit base uses reclaimed materials the same way.
Assembly Steps and Safety
With pallets on-site and hardware ready, the physical build moves quickly. Work on a firm, flat surface and wear gloves throughout - rough pallet wood splinters easily, and older boards may have protruding nails.
Follow this numbered sequence for a stable, safe bin. The EPA composting guide emphasizes that adequate airflow and solid containment are the two factors most responsible for efficient home composting - this build addresses both.
Pest pressure is real in open compost bins. Avoid adding meat, dairy, or cooked food - those attract rodents far more reliably than vegetable scraps do.
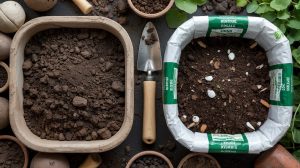
A hardware cloth lid and tight slat spacing on the lower half of the bin handles most pest risk without extra chemicals. Pair your finished compost with the right growing medium by checking which potting soil works for your containers.
Once your bin is standing, you can start loading it immediately. Layer browns (dry leaves, cardboard, straw) and greens (grass clippings, vegetable scraps) in roughly equal volumes to kick off decomposition.
If you want a full breakdown of what to add and when, our step-by-step composting guide covers the process from first layer to finished product.
Maintenance and Troubleshooting
A pallet bin needs less upkeep than most people expect. The main tasks are turning the pile, checking moisture, and keeping the brown-to-green ratio balanced.
Turn the pile every 1-2 weeks with a garden fork to introduce oxygen and speed decomposition. Moisture should feel like a wrung-out sponge - damp but not dripping.
The EPA moisture and aeration guidelines confirm that these two factors control decomposition speed more than anything else. If the pile feels dry, add water; if it smells sour, add dry browns and turn immediately.
- Bad odors: Usually means too many greens or not enough air. Add dry leaves or cardboard and turn the pile to re-introduce oxygen.
- Slow decomposition: Pile may be too dry, too large, or unbalanced. Shred materials smaller than 2 inches and add a nitrogen source like fresh grass clippings.
- Pests: Avoid adding cooked food, meat, or dairy. Bury fresh kitchen scraps in the center of the pile rather than leaving them on top.
- Soggy pile: Cover the bin during heavy rain or add more browns to absorb excess moisture. A simple plywood lid works fine.
A pile that smells like ammonia has too many greens and not enough carbon. Add dry brown material immediately — shredded cardboard or dry straw — and turn the pile. Left unaddressed, ammonia odor attracts flies and signals nitrogen loss from your compost.
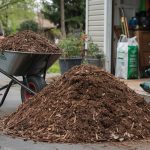
Finished compost is dark, crumbly, and smells like forest soil. In a well-managed pallet bin, expect ready compost in 2-4 months during warm weather.
Use a soil test kit to check your garden beds before applying, so you know exactly how much to add. You can also layer finished compost under wood chip or bark mulch to extend its moisture-holding benefits through the season.
For broader context on how compost fits into a healthy garden, our composting and soil health resources cover everything from pH balance to amendment timing.
And if you want to understand exactly what your compost is feeding, the soil composition basics page explains what's happening underground.
Frequently Asked Questions
Four pallets are the standard — three form the U-shaped walls and one serves as a removable front panel. Six pallets build a two-bay system for active turning.
Only pallets stamped HT (heat-treated) are safe. Avoid any stamped MB (methyl bromide), a chemical fumigant that can leach into compost and harm plants.
MB-stamped pallets can contaminate compost with methyl bromide residue. HT-stamped pallets use only high heat to sanitize the wood — no chemicals are introduced.
Use a long-handled garden fork and work from the outside of the pile inward. A hinged front panel makes this far easier than lifting material over the top.
Expect finished compost in 2–4 months during warm weather with regular turning. Cold winters can slow the process to 6–12 months without insulation or covering.
Pin it for your next how to build a compost bin from pallets project.